DIY Giant Ruler Tutorial
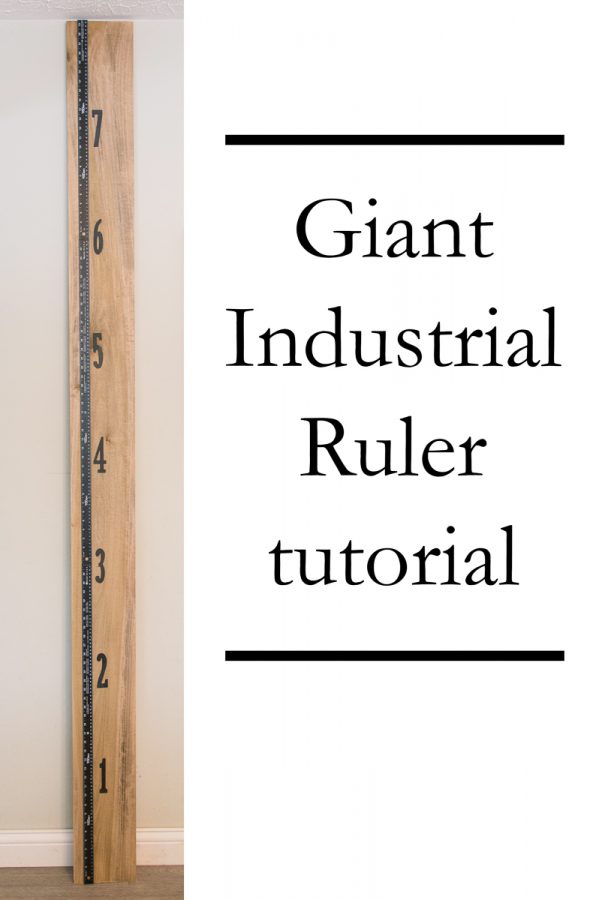
In my previous post, I told you all about my plans and thought process for a DIY giant ruler. Here is a tutorial to help you make your own.
Materials needed for the growth ruler
1-1″ x 8″ x 8′ piece of wood (I used Poplar)
Sandpaper
stain color of choice (I used Golden Pecan from Minwax)
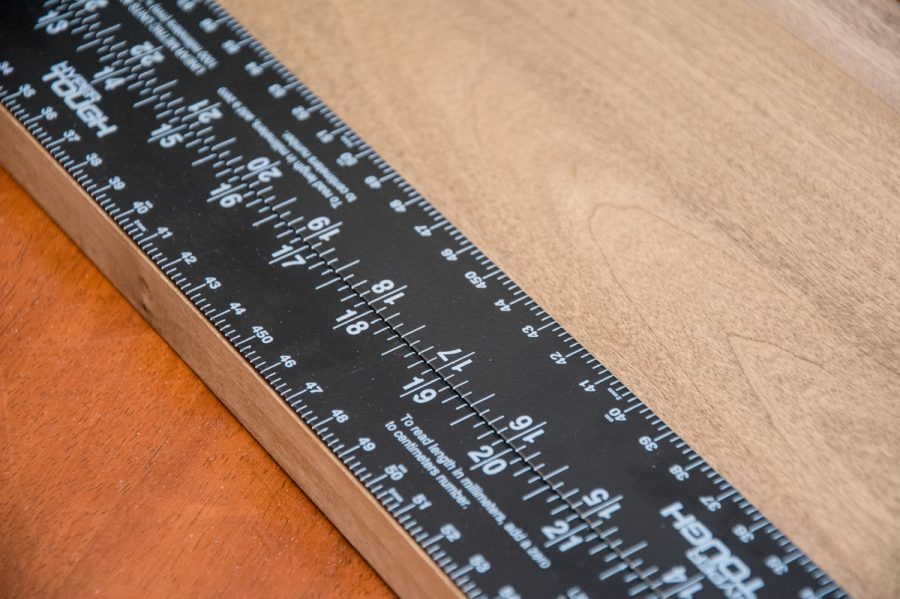
3-aluminum yardsticks
Drill
Safety Goggles
8- #6 x 3/4″ metal screws
7-wooden numbers
Chalkboard Paint
Super Glue
Measuring tape
Chop saw
Prepare the wood
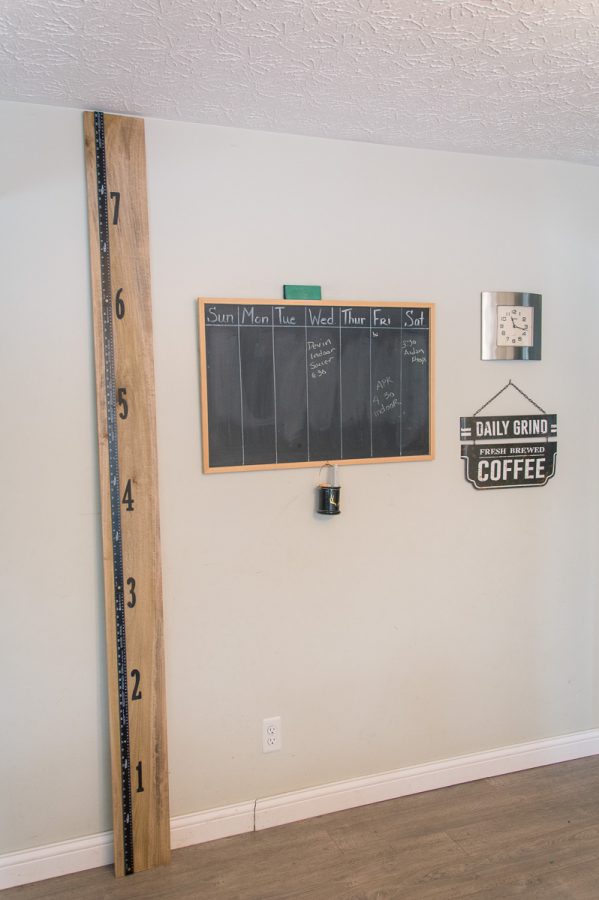
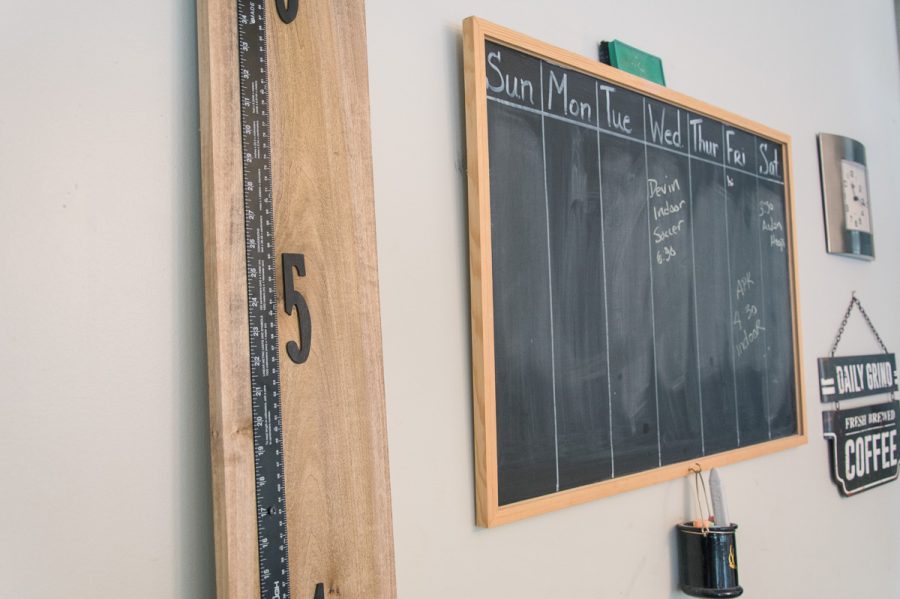
STEP ONE: Lean your piece of wood against the wall where you want to hang it. If necessary, cut it to fit the height of your wall. I had to cut about 1/2″ off mine.
STEP TWO: Sand and stain your wood to your desired color. I used Golden Pecan from Minwax
The yardsticks
STEP THREE: Arrange your first yardstick on the wood. Take care that it is aligned evenly with the edge of the wood. I used a second yardstick to keep it even.
STEP FOUR: Plan out how many screws you want. I used 3 screws for the full yardsticks and 2 screws for the shorter yardstick. Mark where you want your screws to go.
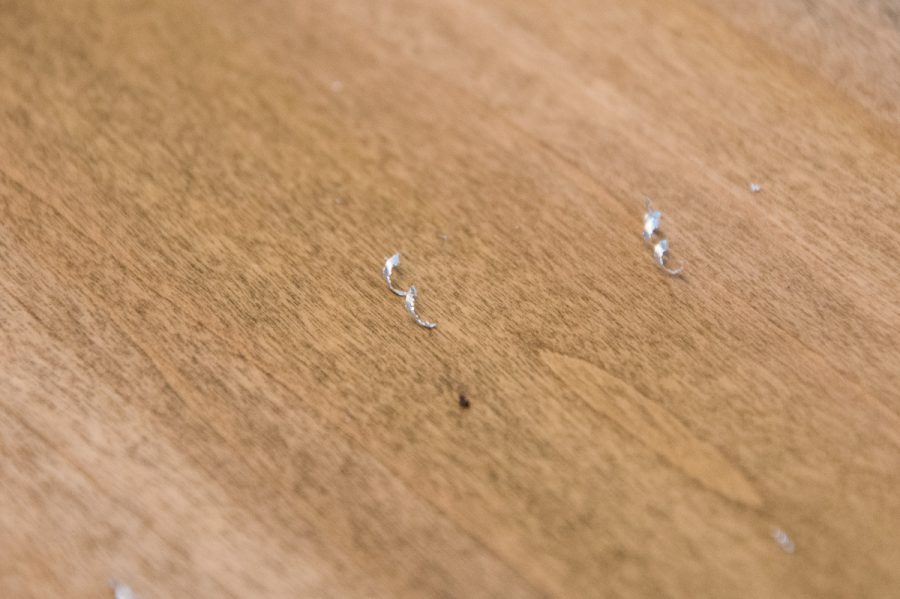
STEP FIVE: Drill 3 pilot holes through your yardstick and the wood. WEAR SAFETY GOGGLES. Drilling & screwing through metal creates metal shavings that would be very harmful to your eyes.
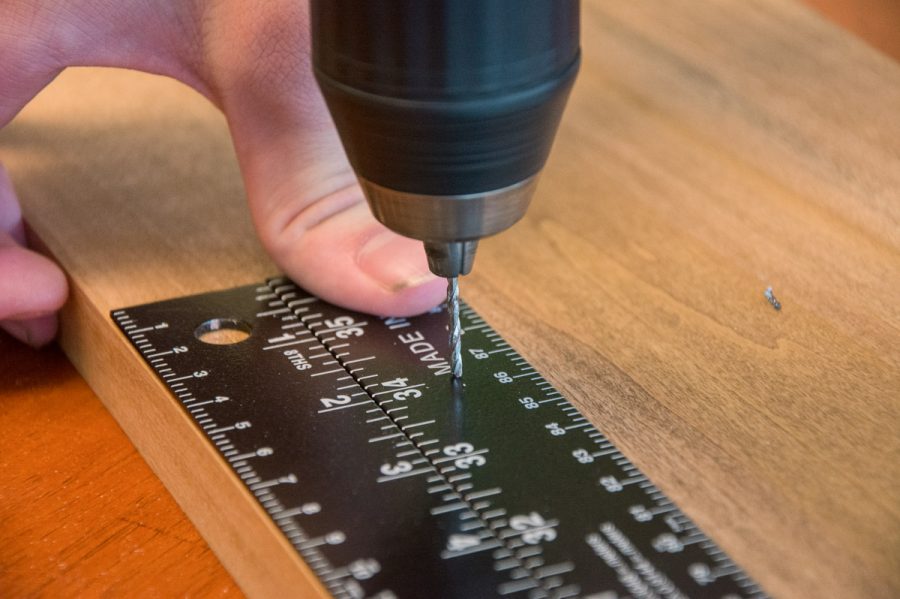
STEP SIX: Keep those goggles on and place 3 screws into the pilot holes.
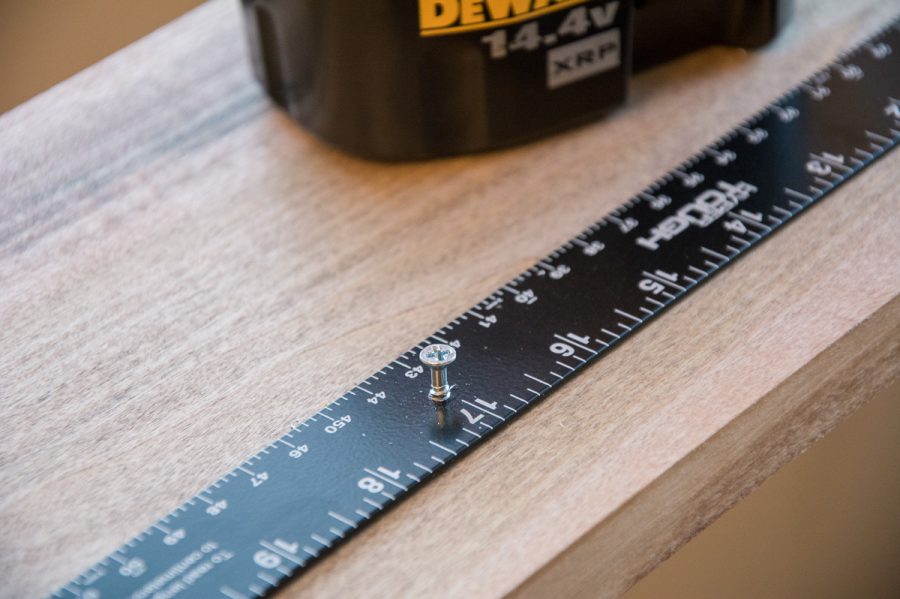
STEP SEVEN: Align the 2nd yardstick with the first yardstick. Take care to keep it level with yardstick below it and plumb with the edge of the wood. Again, I suggest using the third yardstick to keep them aligned.
STEP EIGHT: Repeat steps four, five and six for the 2nd yardstick.
STEP NINE: Align the 3rd yardstick with the 2nd yardstick. Mark the third yardstick where the top of the wood is. Cut the 3rd yardstick with a chop saw to align with the top of your board. Again, safety goggles are a must!
STEP TEN: Again, repeat steps four, five and six for the 3rd yardstick.
The numbers
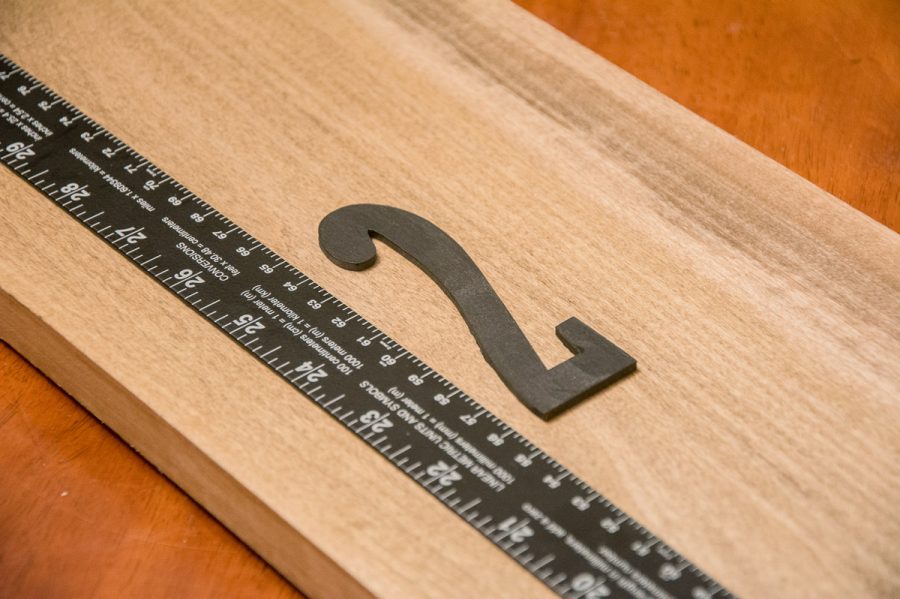
STEP ELEVEN: Use the chalkboard paint to paint your wooden numbers black. You could paint the numbers directly onto the wood. I opted for the wooden numbers to add some texture and depth to the ruler.
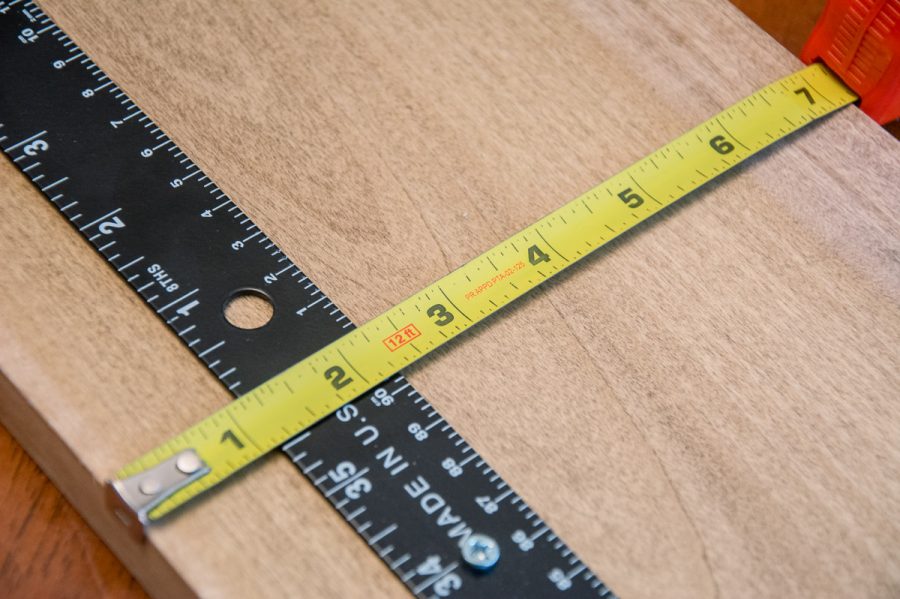
STEP TWELVE: Measure from the edge of the board to where you want your numbers place. For me, I marked them at 3 and 3/8″ from the edge.
STEP THIRTEEN: Glue the wooden numbers in place
Your DIY giant ruler is done! Great job!!
xoxo
Donna
PS… If you like what you’re reading, you can subscribe. There’s a sign up in the right hand column. Love having you on the road with me!