IKEA Eket HACK
If you’ve been around Bright Road for a while, you are probably familiar with the fact that things tend to get done around here when my husband heads off to work. For whatever reason, my DIY’n makes that man nervous. Well… thanks to the pandemic, that wonderful husband of mine has been working from home for nearly a year. For whatever reason, power tools are frowned upon in the middle of Zoom meetings so there hasn’t been much activity around here. The good news is I finally figured out a way to buck the system and I have a simple IKEA hack to share with you.
Looking for a project
I’ve done what I can to keep busy but a girl can only clean the kitchen and make dinner so many times before she loses her ever loving mind. I searched our little ranch for projects. There are still so many projects to do. Our bathroom? BIG project with lots of power tools needed. Same for our hall bath. The basement? My husband’s office is down there so any project there would likely be a disruption. The bedrooms? The garage? The patio? So many options and each has a reason (excuse) why now isn’t the time to tackle it. The search for a project continued.
While I debated my project options, I had to find things to keep me busy. I scanned old photos and played with a Cricut. Having both of those machines on my desk made it crowded and prompted me to look for ways to organize my “equipment”. I wanted someplace to put them away when not in use. That prompted me to head to IKEA for some furniture to hide my stuff. I opted for the Eket cabinet. It was the perfect size. Wide enough, deep enough but still not bulky. I bought two, put them together, loaded them up and there they sat…
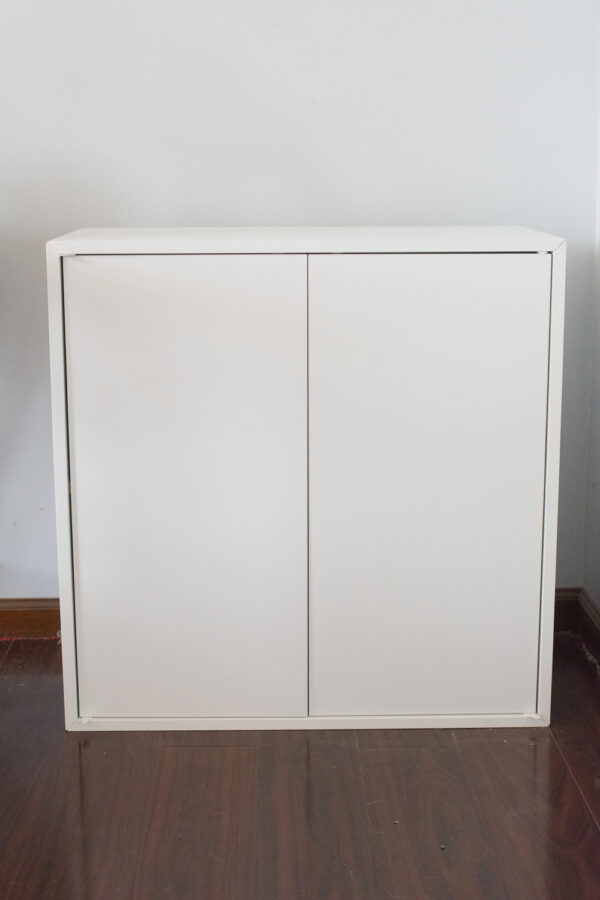
Mocking me… Clearly, this was ripe for an IKEA hack.
IKEA hack to add style
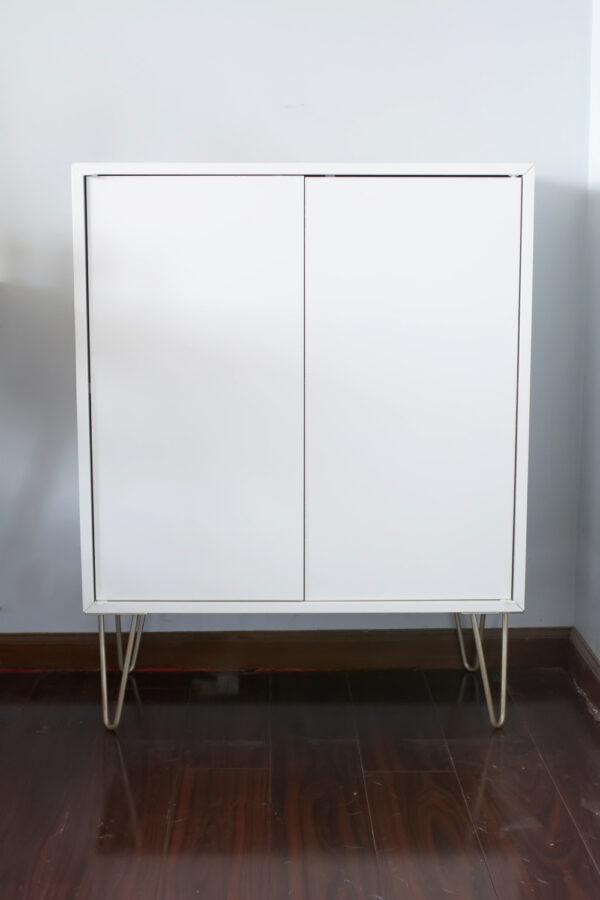
Truth is the cabinets were functional but they left a bit to be desired in the style department. I didn’t like them sitting on the floor. They needed to be taller and even though the Eket has hardware to hang on the wall, that wasn’t the look I wanted. Furniture legs were the answer. And because I’m obsessed with hairpin legs, I went that route. These beauties on Amazon fit the bill at only $40 for both sets and with a little gold paint I already had lying around they were just what I wanted. The paint added a little sparkle and kept the legs from blending into my dark floors.
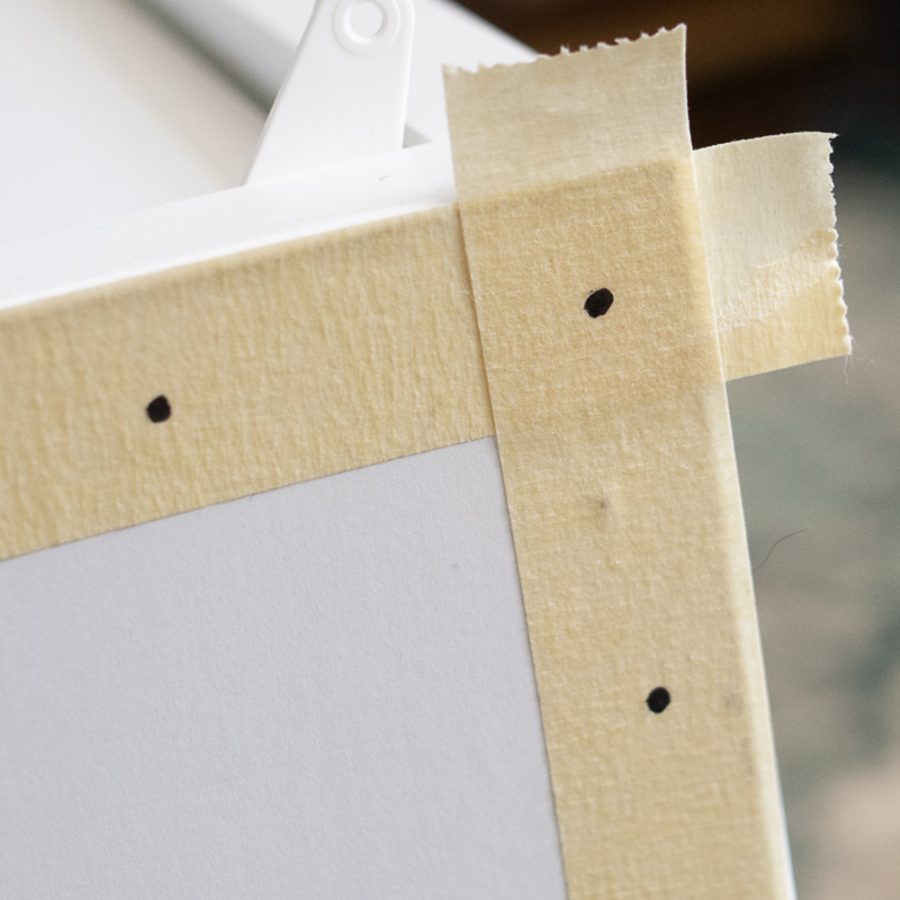
Adding a non-IKEA item to IKEA furniture means a little extra thought. First, I always use masking tape to prevent any damage to the finish. It can crack and split and using the tape really helps prevent any issues.
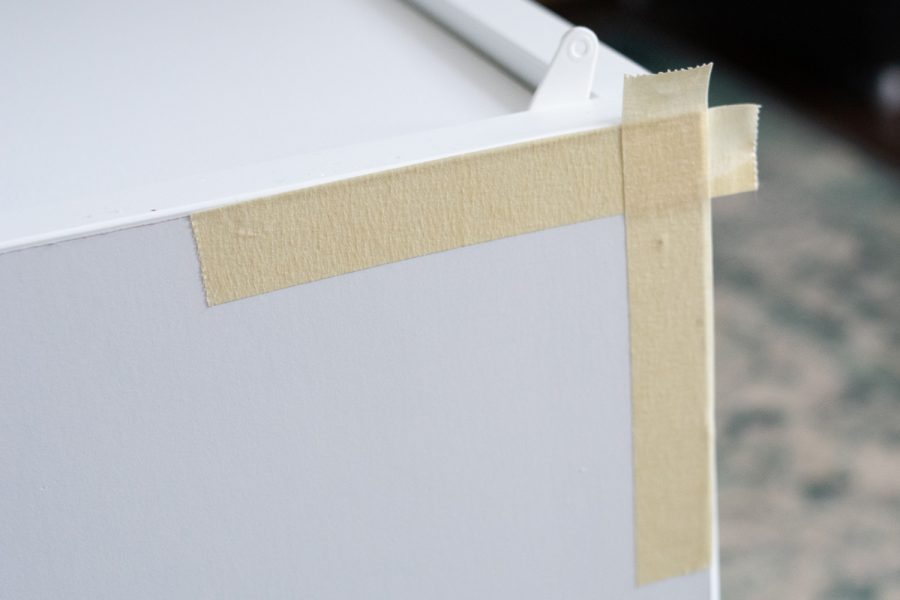
I lined up the legs and marked where I needed pilot holes.
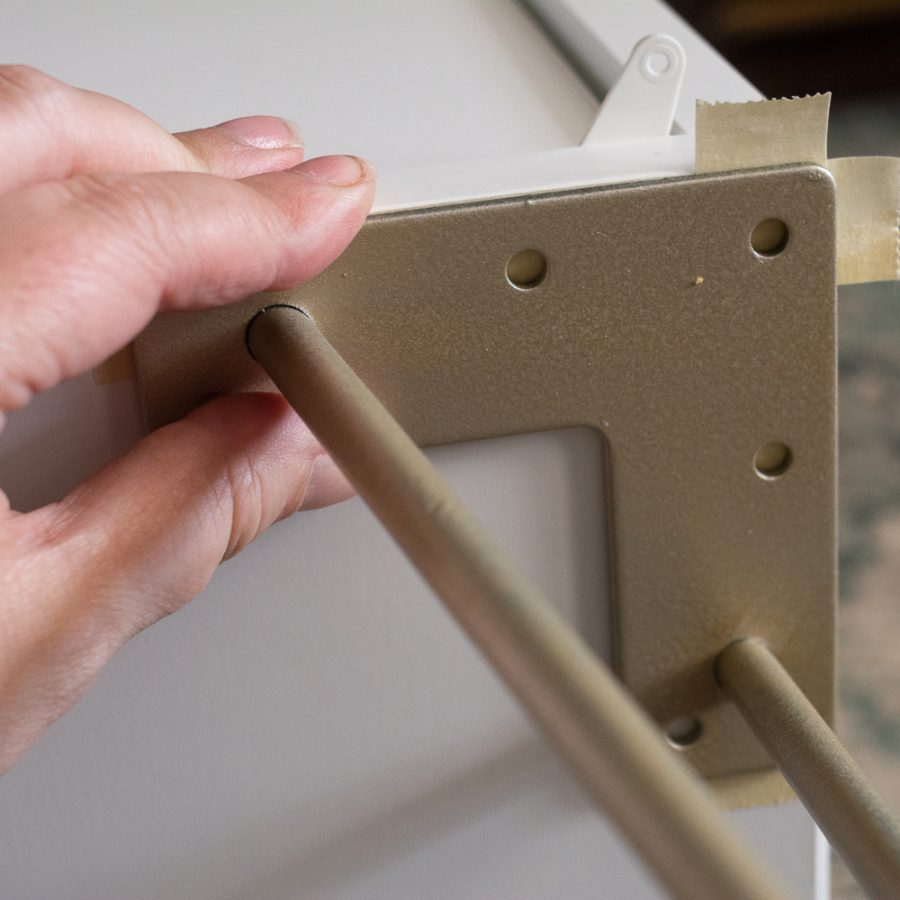
It’s important to note, the sides of the Eket are not very thick. When drilling, be careful you don’t drill all the way through. With the depth of the piece in mind, I had to use different screws than what came with the legs. Luckily, I had some on hand. I removed the tape and screwed in all the legs. Looky there!! Her style rating is already improved!
More style to come
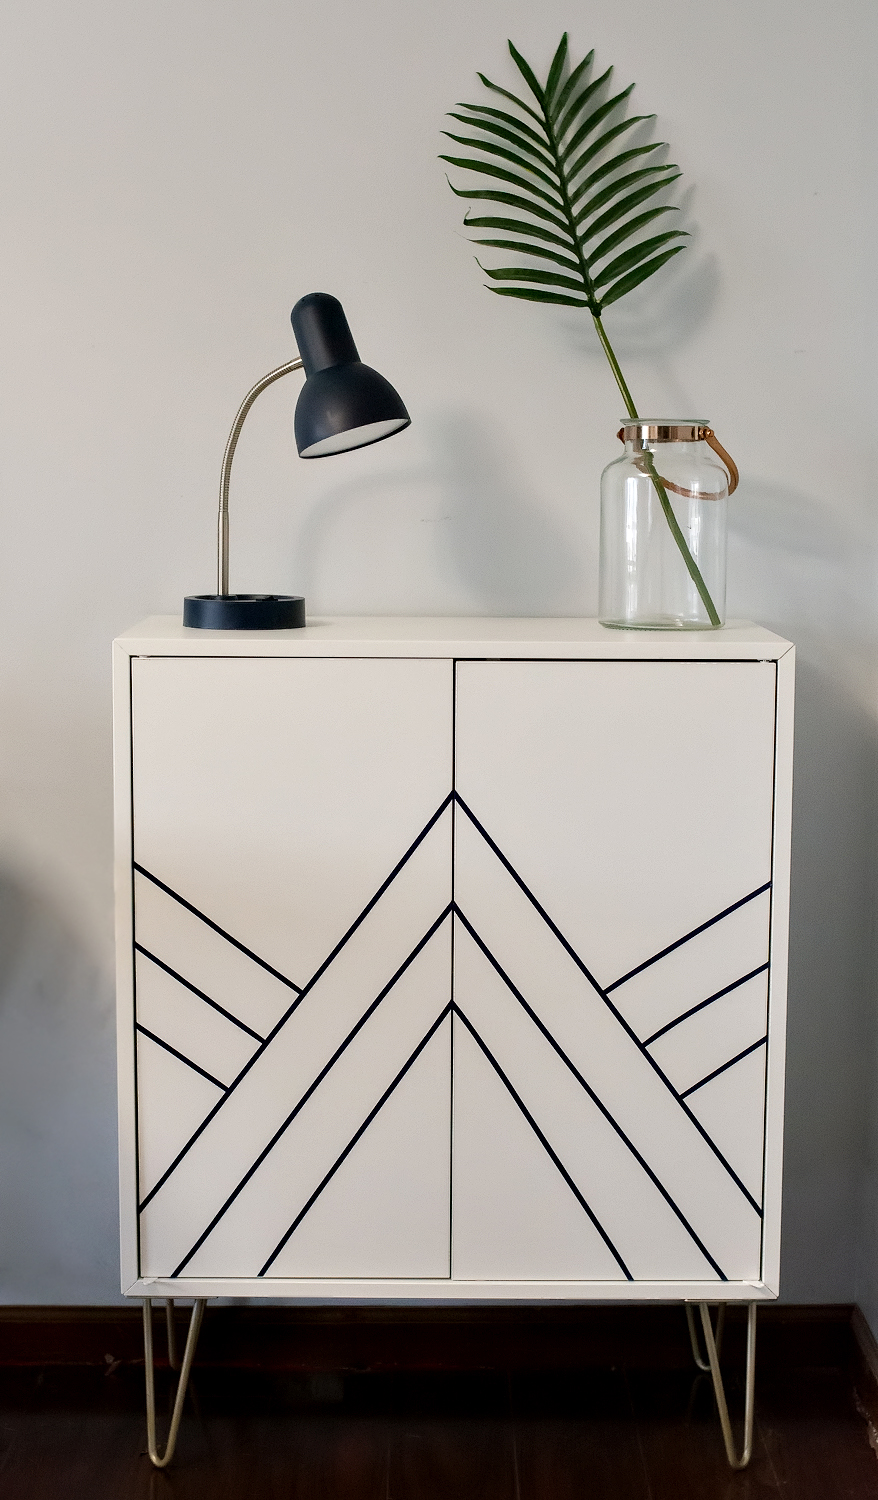
I’m not done…. The height really helped the piece feel like it fit in the space but now… I needed a little oomph. Since I’ve been using my Cricut so much, I decided to use some vinyl to jazz her up a bit. I mapped out the design I wanted in photoshop and cut the vinyl pieces. Usually with vinyl, I’d use some transfer tape to insure a really good placement but I was concerned it might mar the finish so…. I hand placed the strips of vinyl.
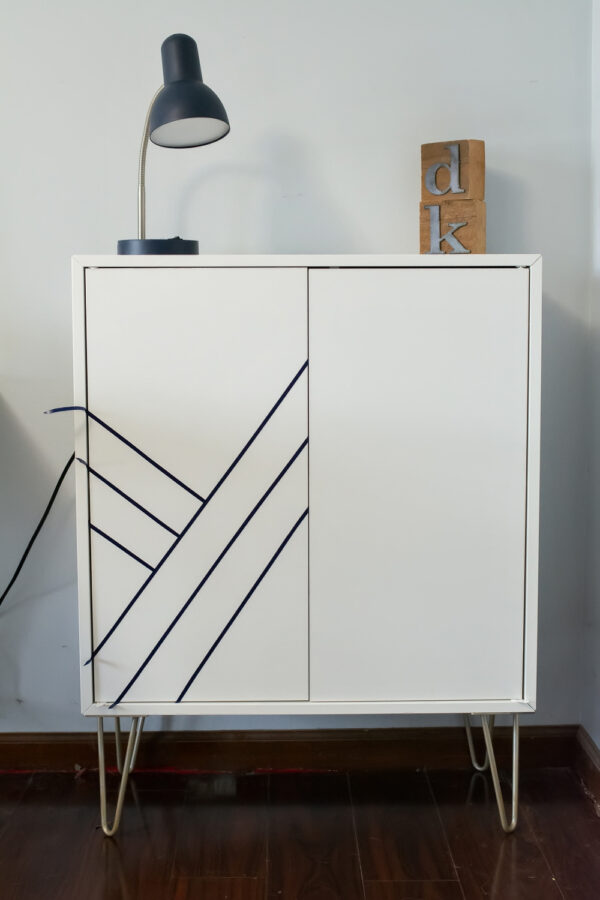
“Hand placing” is the fancy way of saying “I eyeballed it.” And… “I eyeballed it” is code for “it’s not perfect.” I suppose I could have pulled out a protractor and rulers but honestly… I was anxious to get it done. It was my first project in a while and I was more than ready for the “after” photo”. Once I was happy with the placement, I trimmed up the vinyl.
She’s a beauty, Clark!

All in all, I’d call this DIY IKEA Eket hack a success. It was incredibly easy and only took a couple hours from start to finish.