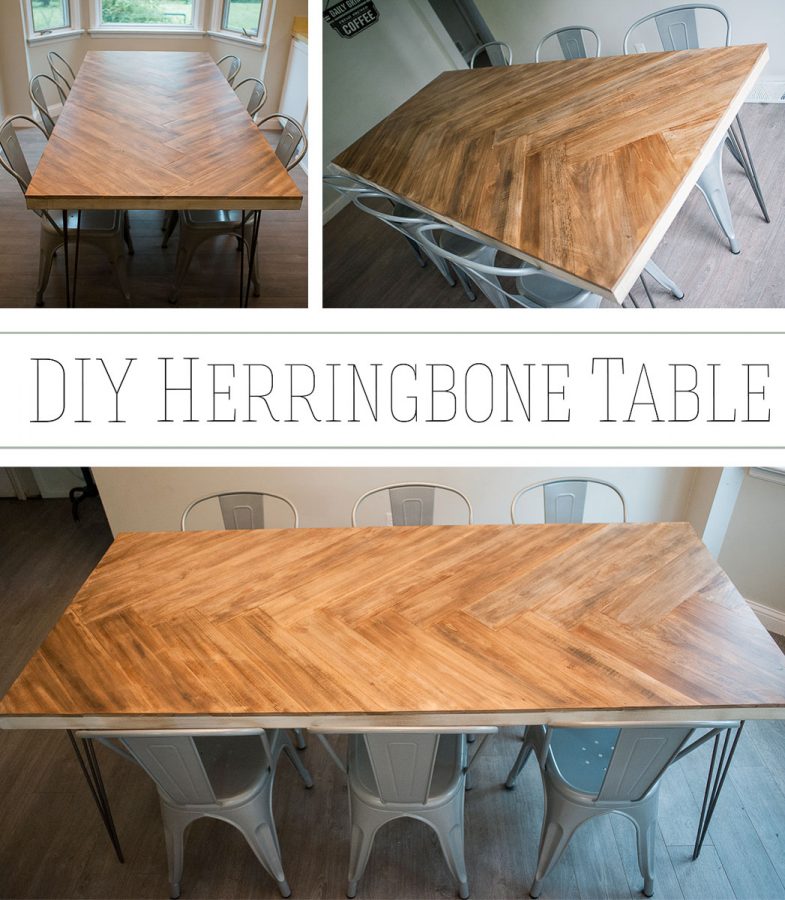
How to make a DIY Herringbone table Part 2
In my last post, our tutorial had taken us to the point where our wood boards were on the table and the glue was drying. Let’s finish this DIY herringbone table!
Wood filler
Now that the glue on the table is dry, use the Stainable Wood Filler to fill any gaps.
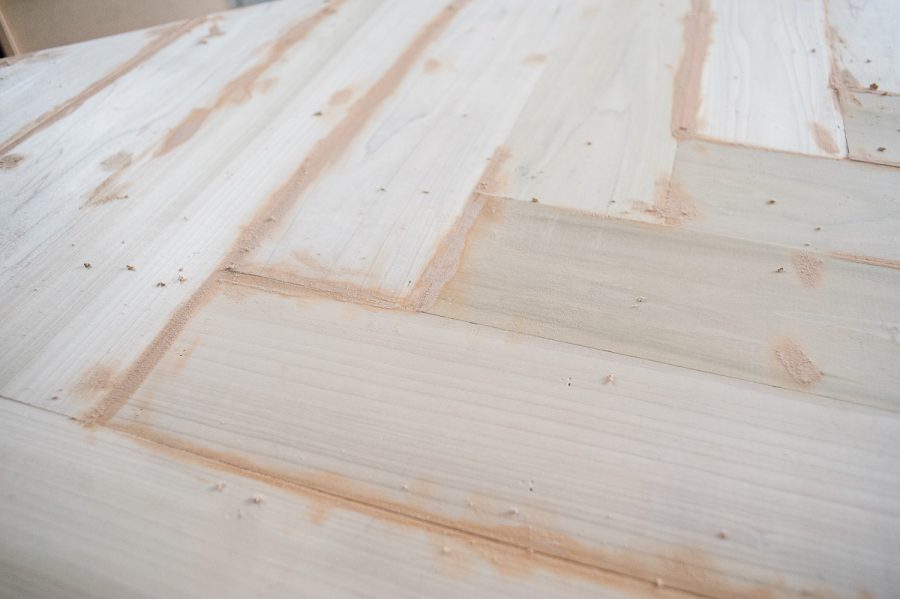
There’s wood filler you can put on with a putty knife and filler that comes in a tube. I preferred the tube. Because the boards aren’t uniform in height, I preferred using my fingertip to apply the putty. I felt my fingertip adjusted better to the varying heights of the boards. I filled a few of the nail holes but not all of them.
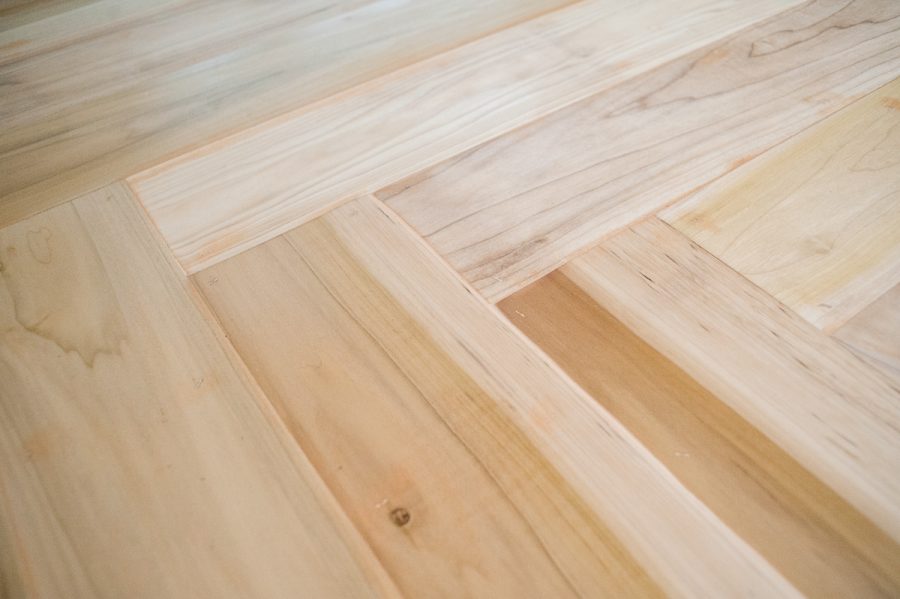
Next up, grab that sandpaper!! This is where having a sander would be awesome! I really worked hard even with my sander. You can see in the photo above, the varying heights of the boards. I’m quite capable of spilling things all on my own. An uneven table would only insure my non-graceful self would spill something so I put in some extra elbow grease to either soften those edges or get them closer in height.
If you want your table to look older and a bit more distressed, check out Young House Love‘s post about distressing wood. I didn’t take this step. I figured with 6 people in this house who are, shall we say, not gentle on furniture, it would get plenty distressing with our daily wear and tear.
Stain
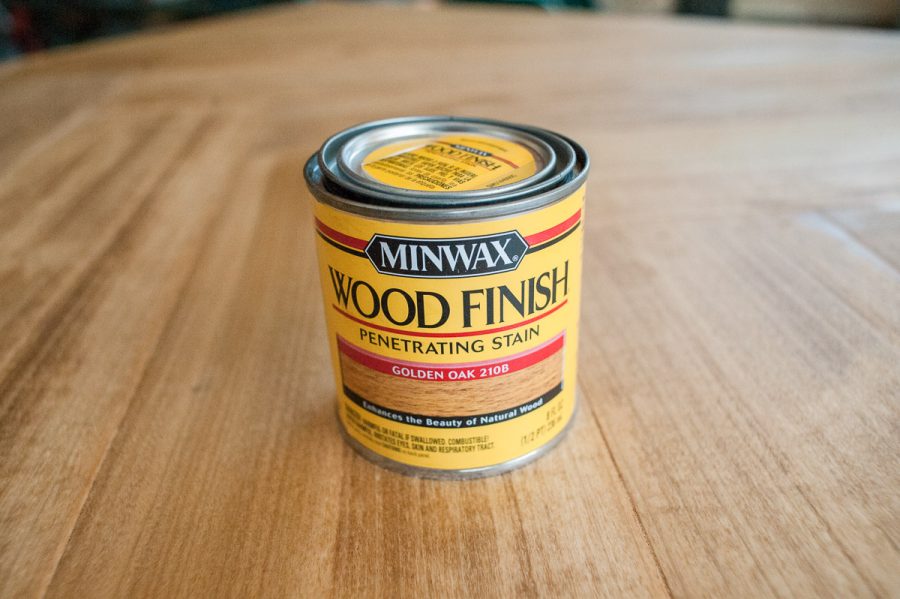
Speaking of staining, that’s what I did next. If you use Poplar, like I did, you’ll see that Poplar has a green undertone. Thanks to the internet, I found a great post on Chris loves Julia about what stain colors look like on different types of wood. I highly recommend bookmarking this post. It helped me decide that Golden Oak was my color.
First, I applied the Minwax Pre-Stain. I applied it with a brush going with the grain of the wood. After allowing it to dry, I added 2 coats of Golden Oak by Minwax.
Make sure you allow it to dry for the recommended time. I sanded between coats and used cheesecloth to insure a clean area for the next coat. I thought the color looked great. It was nice, even color.
Creating character
I wanted to scruff it up a bit, make it look a little aged. With an old washcloth, a staining pad and Minwax True Black stain, I rubbed the stain on in various places. I also added a bit more Golden oak in other places until it looked a little more loved instead of like brand new boards.
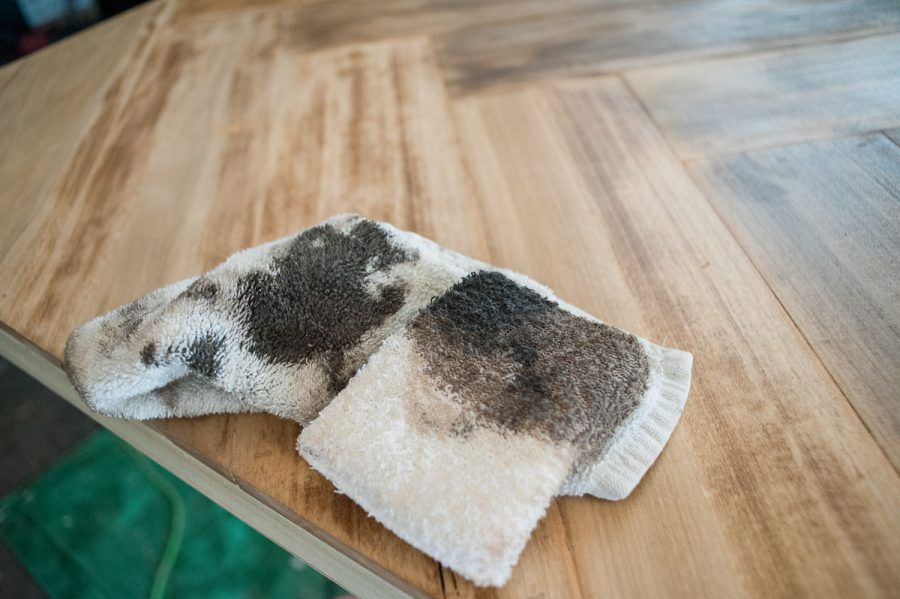
Don’t use a lot of the darker stain. You can always add more color if it’s not enough. Too much and you’re sanding again. I LOVED the variation that gave me.
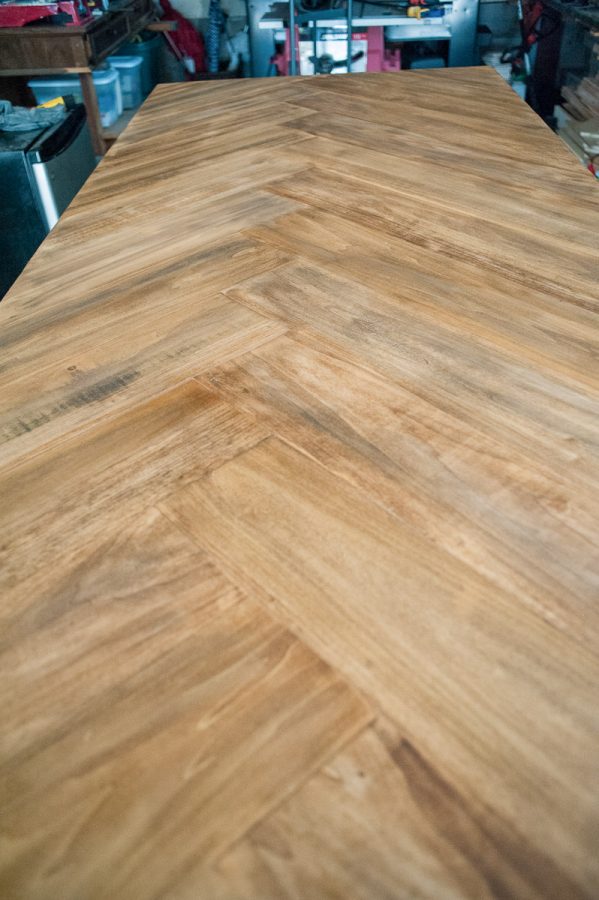
After allowing all that to dry, I added two coats of Polycrylic (sanding and using cheesecloth between coats). Once dry, your table top is done!!
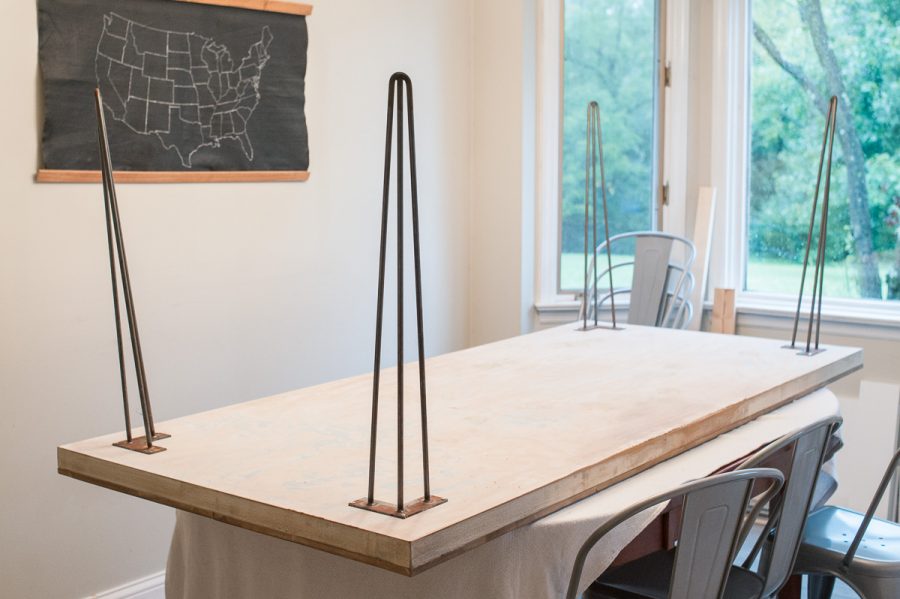
Aidan and Andy carried the table top into the house turned it upside down on the kitchen table so it would be easier for me to add the hairpin legs.
Flip it over and you’re ready for family dinner. This table can seat 8.

That’s it. It took a good chunk of a weekend. I’m TOTALLY IN LOVE!! Let me know what you think or if you have any questions. While I’m not a carpenter and would never call myself an expert, I think this DIY herringbone table is do-able for people with a moderate amount of skill & comfort with tools and woodworking.
xoxo
Donna
PS… If you like what you’re reading, you can subscribe. Love having you on the road with me!