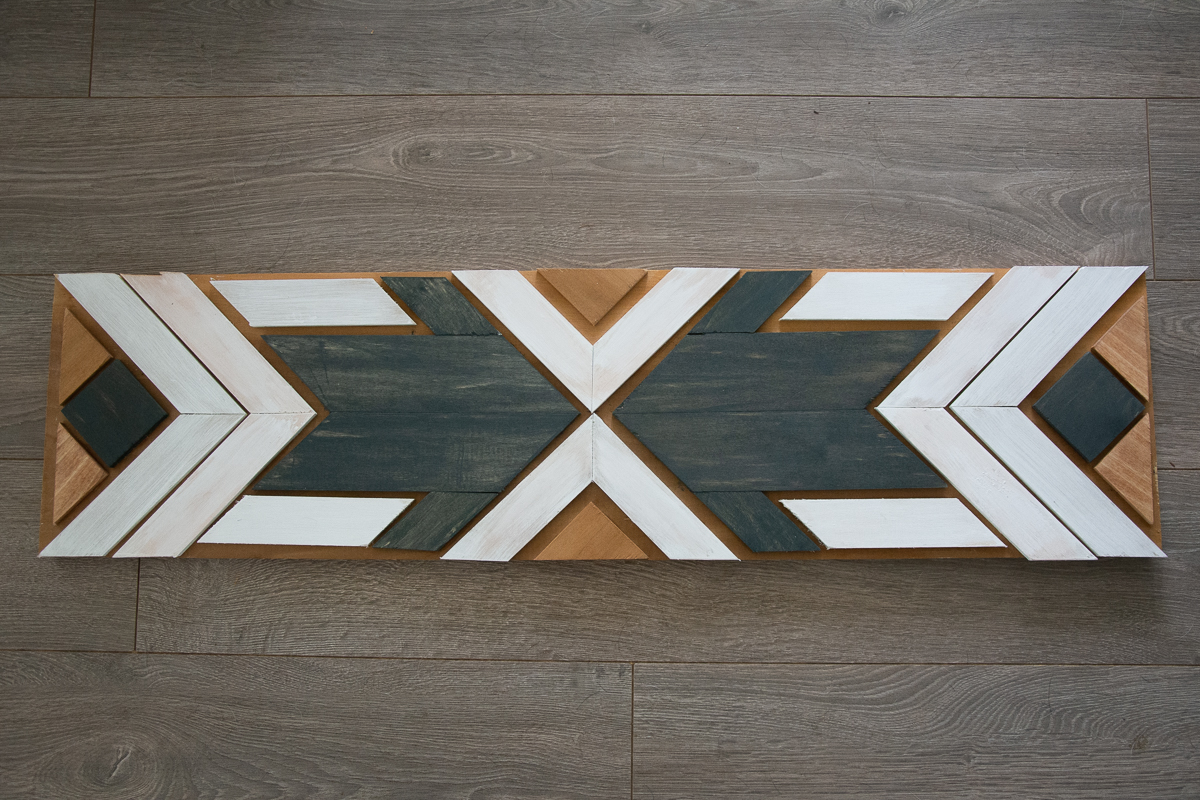
A budget DIY Foyer Update

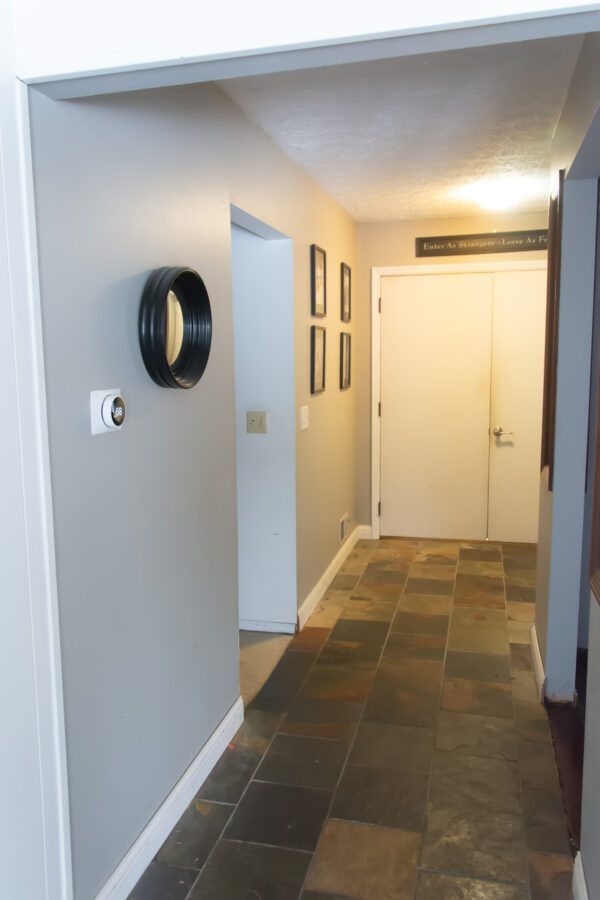
The Before photos…
I will never forget the day I walked into this house for the first time. Stepping in, we were immediately greeted by some awful linoleum. I knew this foyer would require an update and because it’s me, it would have to be DIY and budget-friendly. The walls were fine. The floor was the problem. It was totally seventies linoleum that had seen better days 30 years ago kind of awful. It made me dizzy to look at and it was quite yellowed… Of course, it was groovy. Everything in this house was groovy. Of course, it needed an update.

The first update
If you don’t remember, we bought this house in ’05 (see our starting point HERE). While I’m not sure how quickly we replaced the linoleum, I think it was fairly early on. That floor was just not something you wanted to live with for very long. We put down slate tiles and painted the walls a gray/green. I loved it… for a while. Once we painted the kitchen and family room, though, the foyer began to look dingy to me.
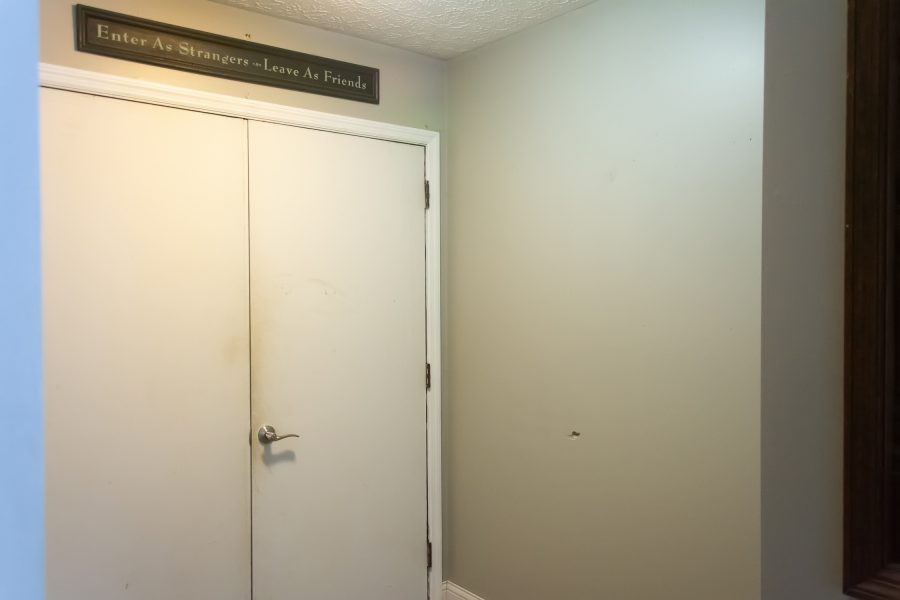
This area just needed some pizzazz and some light!! Despite how these photos may (or may not) portray it, it is a very dark area of our house and it wasn’t giving that first impression I really wanted people to have so I started plotting… er, planning an update.
Ordinarily, when I plot a home project, I have to coax my husband into it or perhaps start the project while he’s at work. (Don’t judge. It works for us—at least when it comes to home decor.) This time was different. I explained what I wanted to do. He expressed concerns. I addressed said concerns and we got going. Honestly, I probably should have marked it on the calendar. At this point, we’ll just call February 2020 a time of marital bliss in our household.
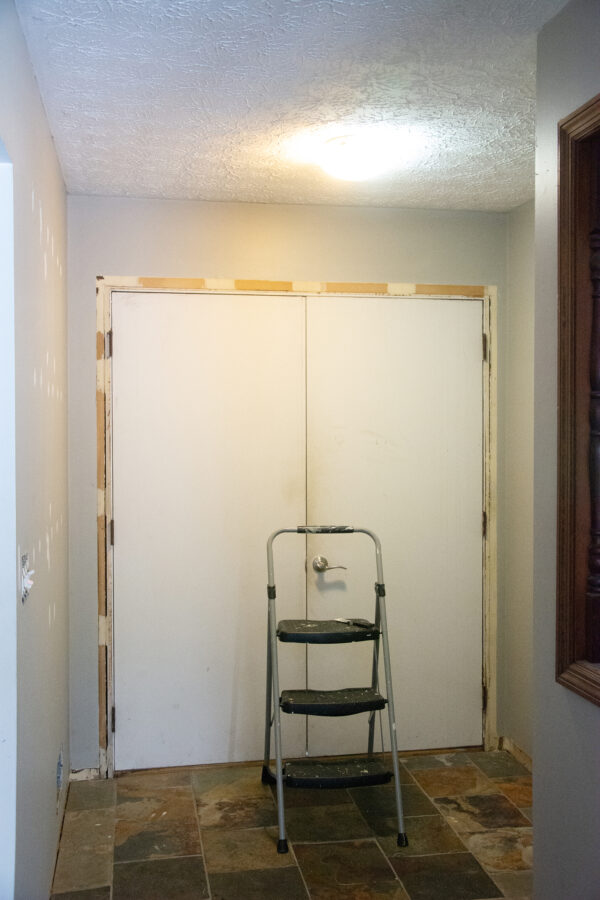
Preparing for an update.
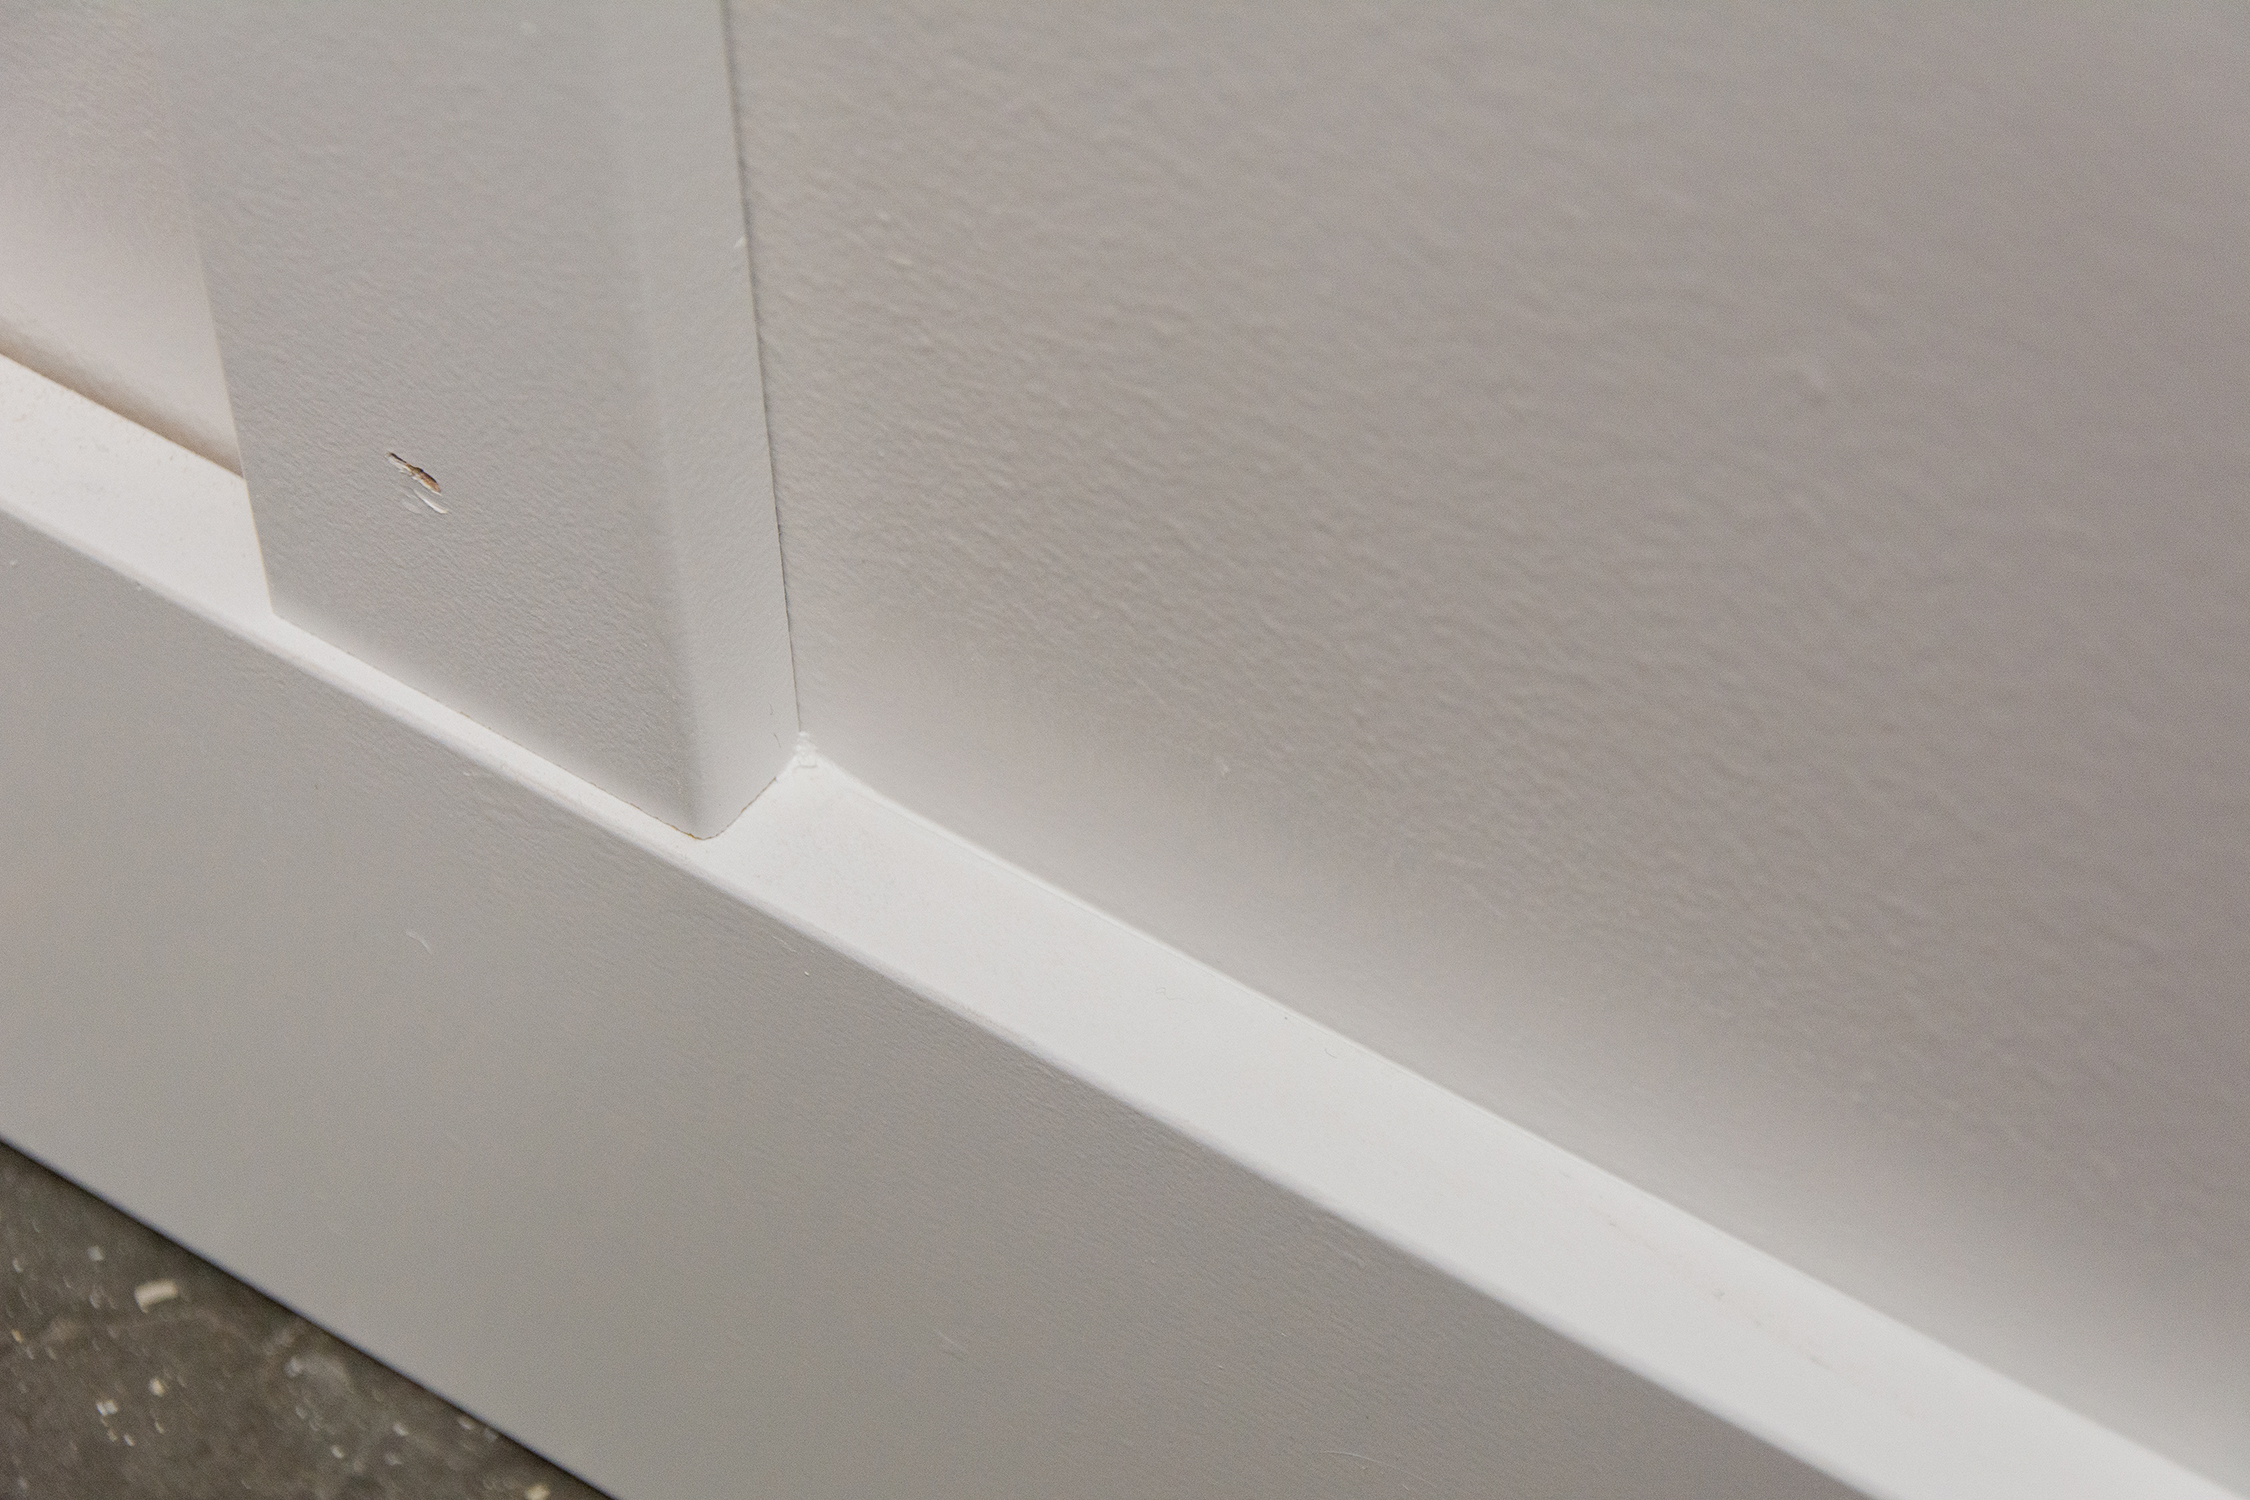
Firstly, we had to remove all the trim and patch the walls…
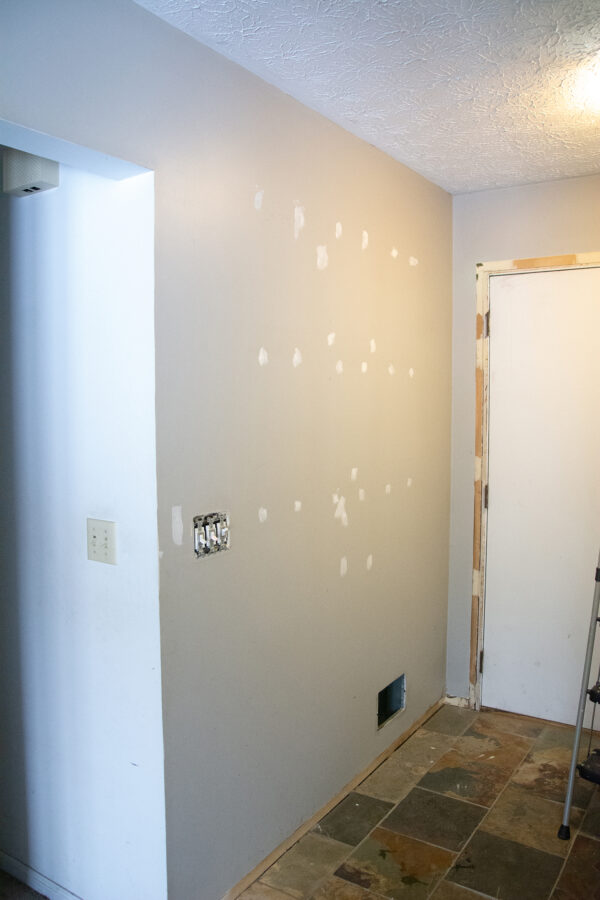
Since this wall was was the site of a gallery of photos for my day job, it took a lot of patchwork. Next up was the best part—the paint. I swear. Paint makes the biggest difference in life!! It’s the most affordable update you can do. I chose a bold color.
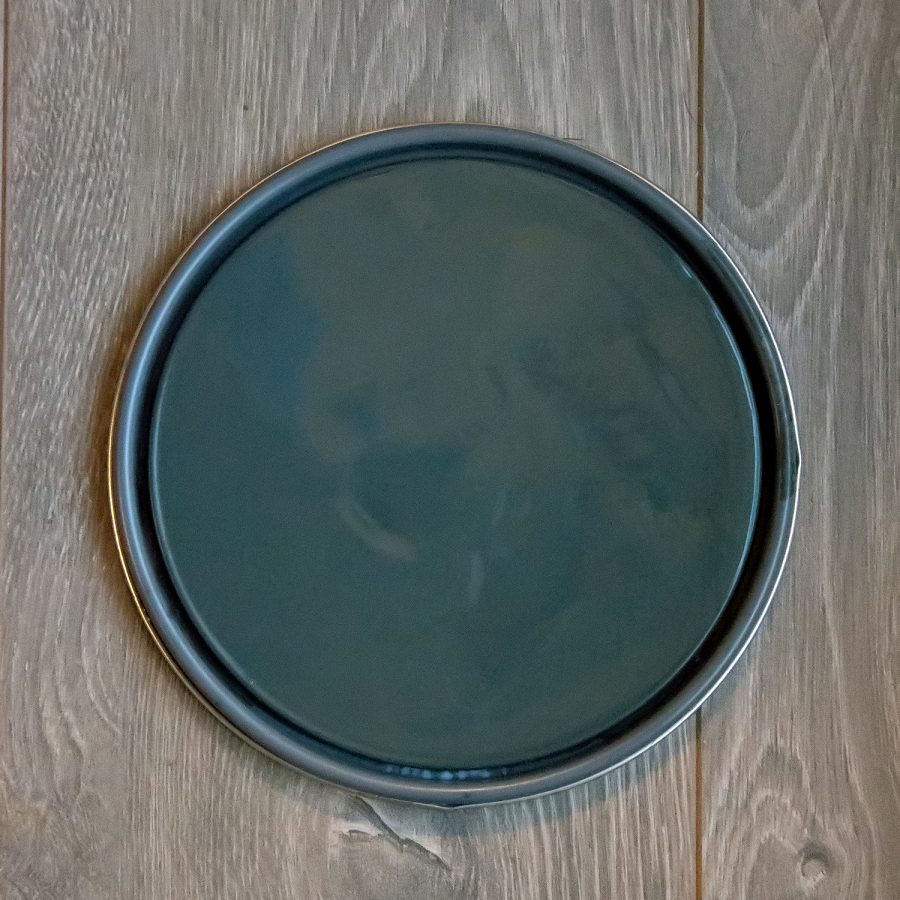
I chose a bold color, a color that gives a WOW moment when walking in the door. This color did that for me and it brought out the tones in the slate tile. It was exactly what I wanted.
I can’t wait to share the rest of the project with you. I promise you. This foyer update is budget and DIY friendly. I’ll be sharing how I gave this small area a bold update and some architectural character all at the same time. See my instagram page for a sneak peek.
xoxo
Donna
I love having you on the road with me!