DIY wall map
I posted a picture on instagram and got a few questions about the map hanging above my new table. It’s a DIY wall map I made a while back. I’m happy to share a how to with you.
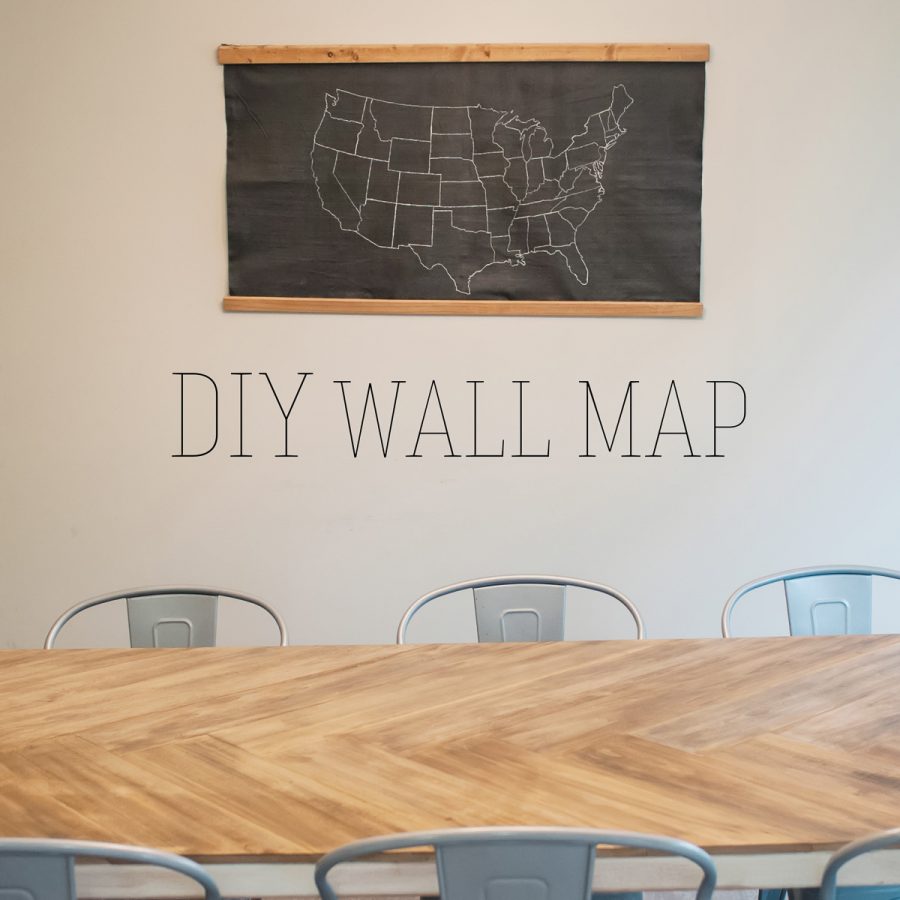
I am a home decor junkie. In my dreams, I flip houses and am every bit as fabulous as Joanna Gaines. In real life, I do okay but like most people suffer from a case of budget-itis. Recently, I saw a wall map that made my little heart go pitter pat. It’s price tag, though, gave me cardiac arrest. And as usually happens at my house, the conversation went like this:
Me: I LOVE this!! Wait! What?! It costs THAT much?! Nope. Not spending that! I’ll just make one.
Andy: Uh oh (Those of you that know us or have read this blog, know this is a recurring conversation in our marriage.) And then it begins…
How to make your own map
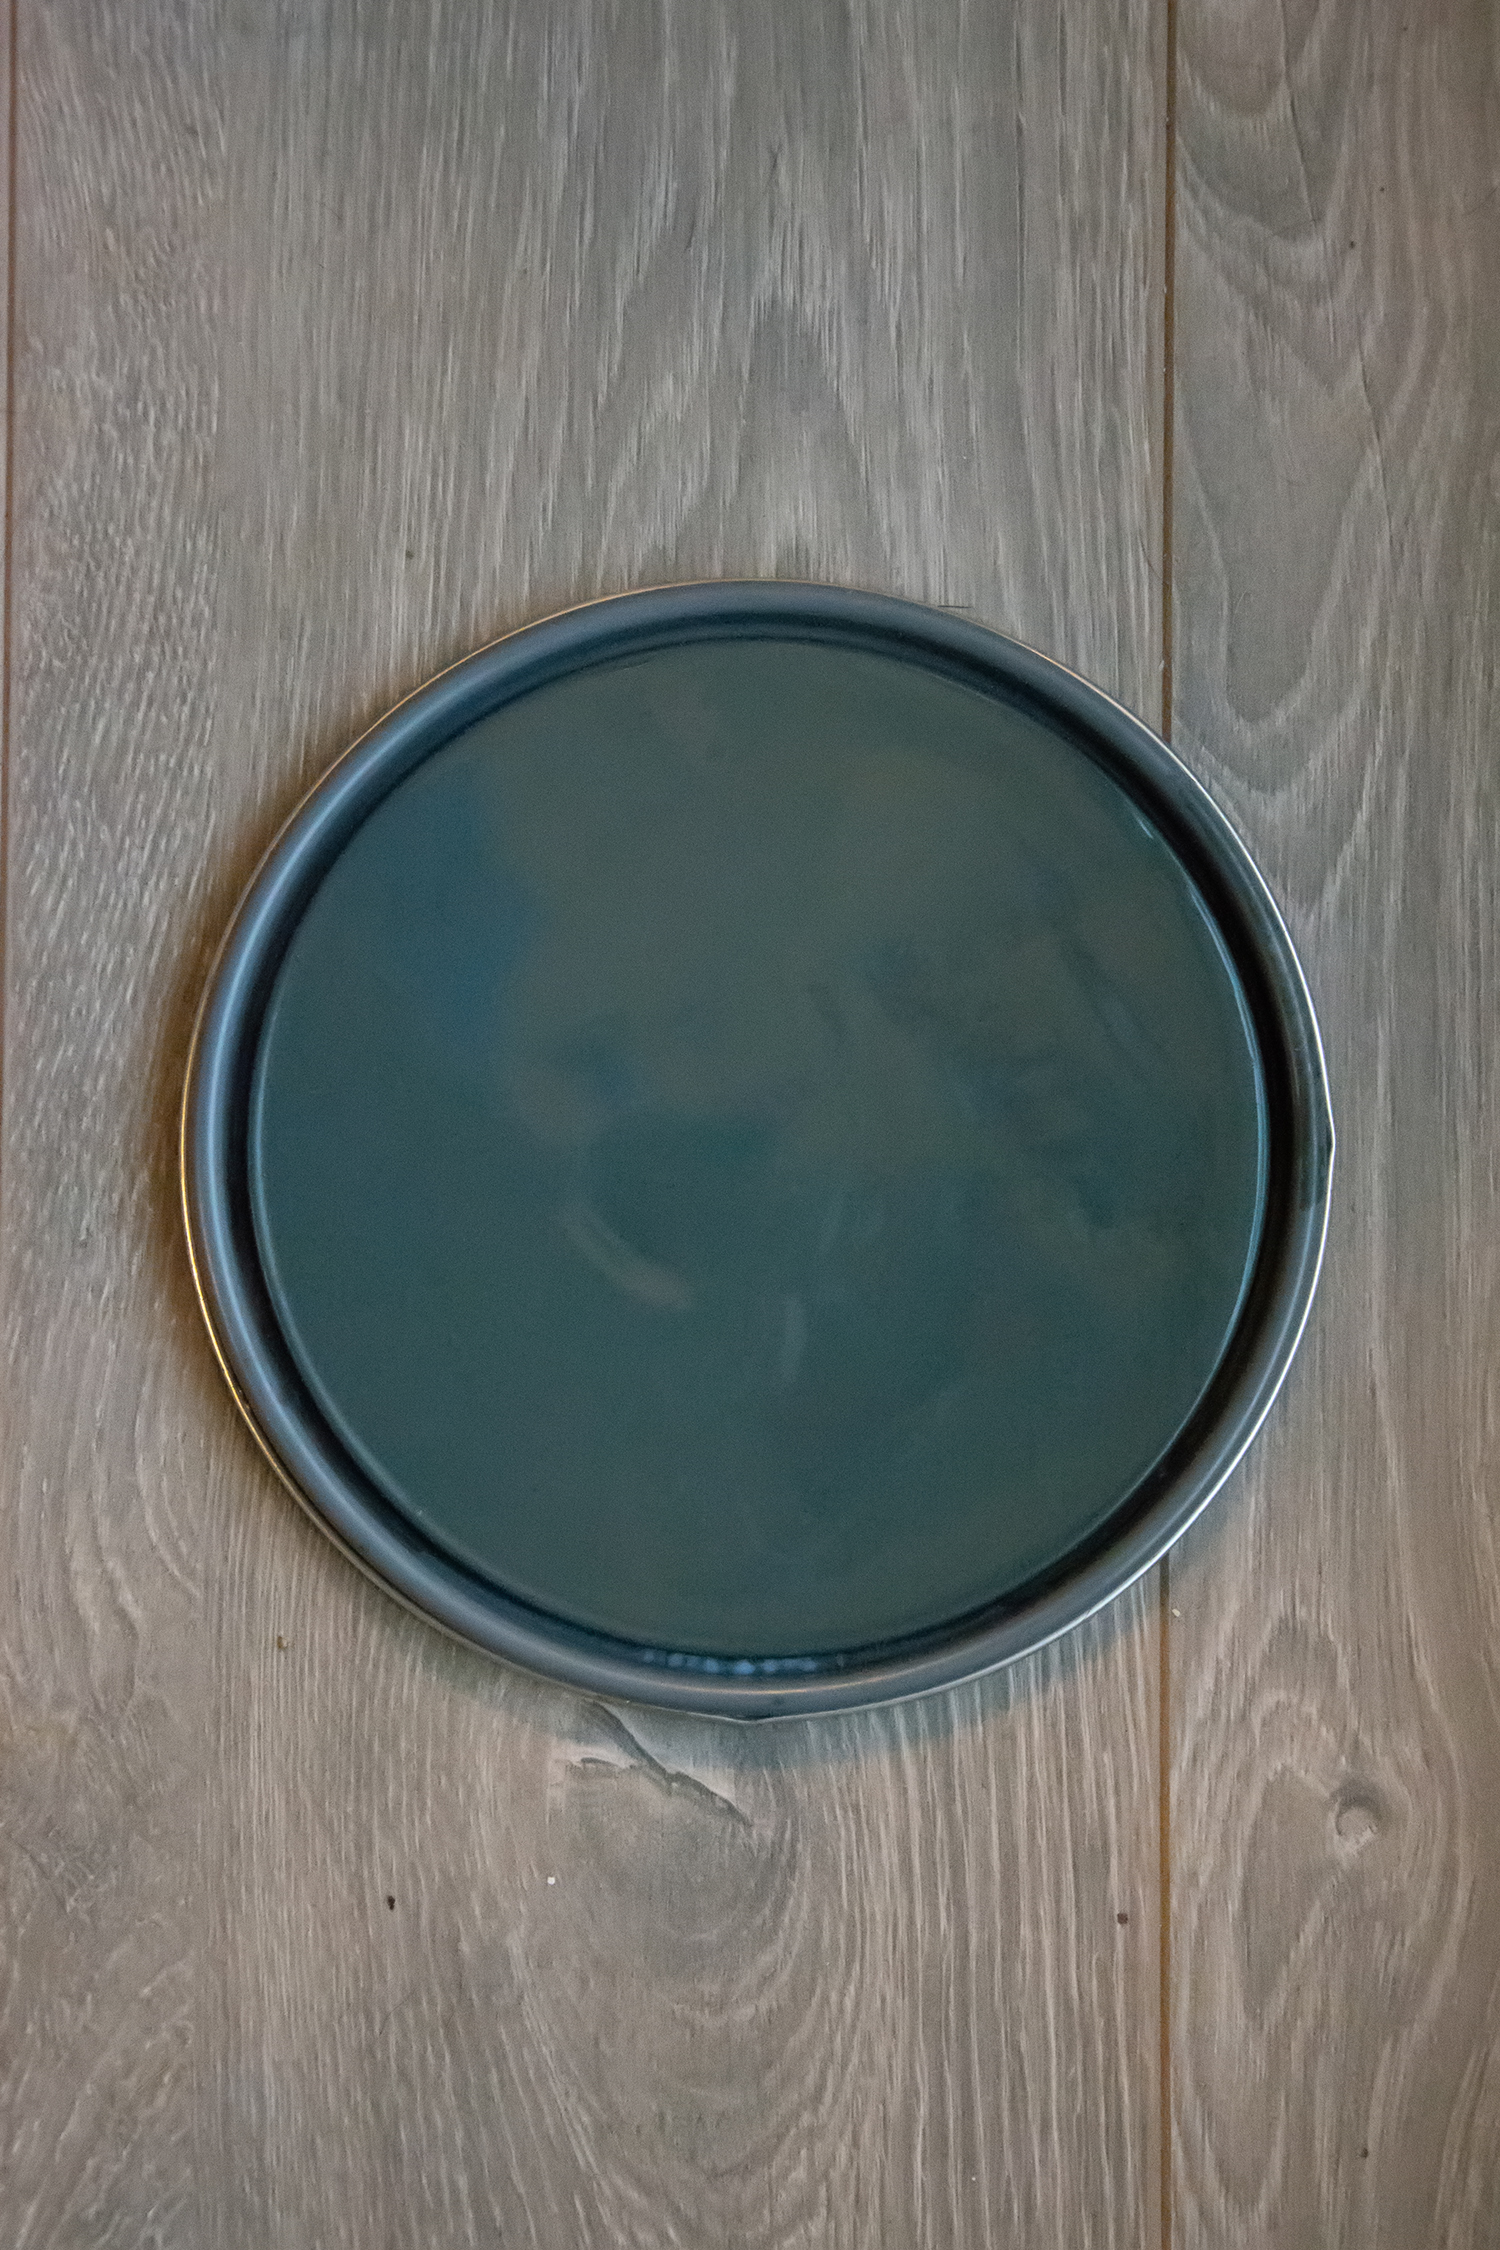
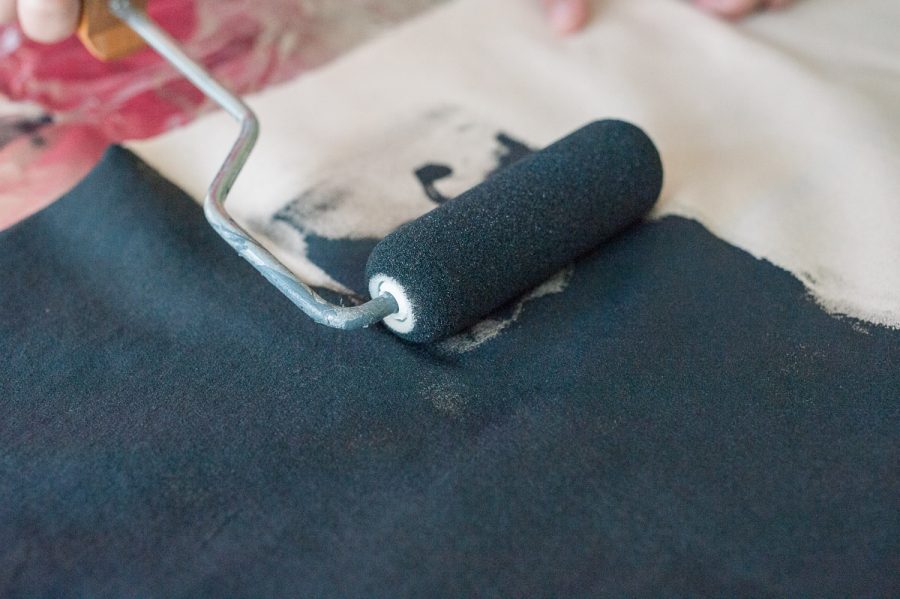
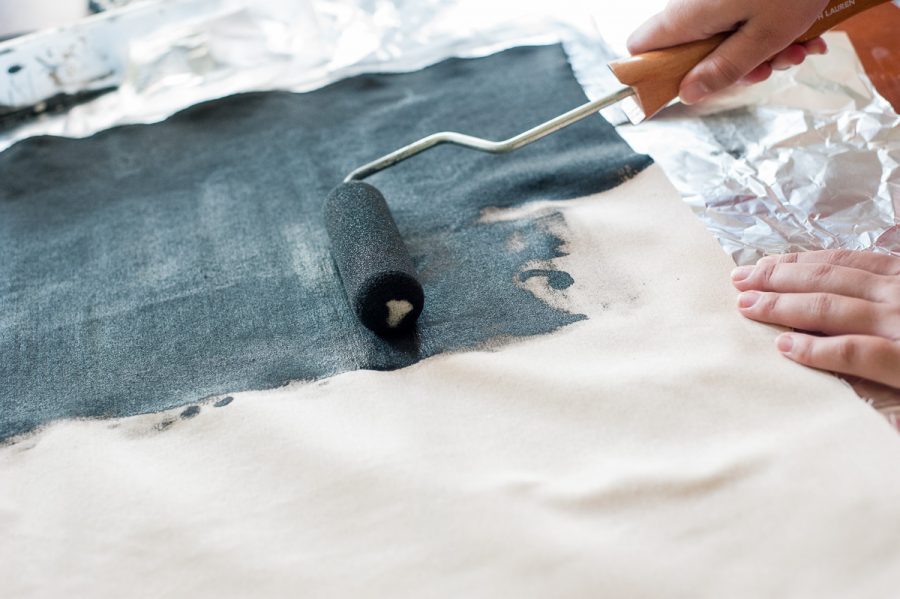
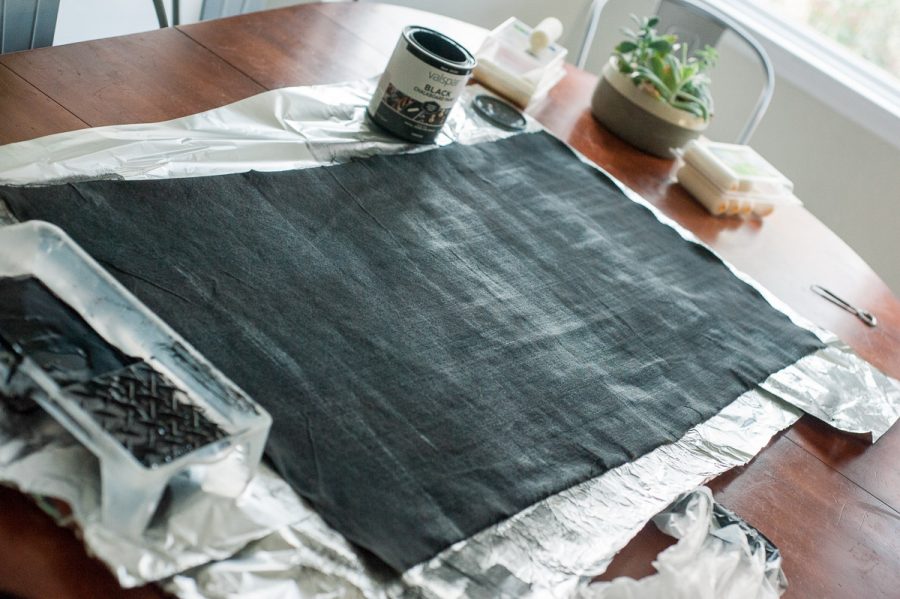
For this particular project, I pretty much already had all I needed… The only thing I had to purchase was paint. I started with some raw duck cloth and a little chalkboard paint. I used Valspar’s version. You can buy it at Lowe’s. My daughter, Devin, gave me a hand with the painting.
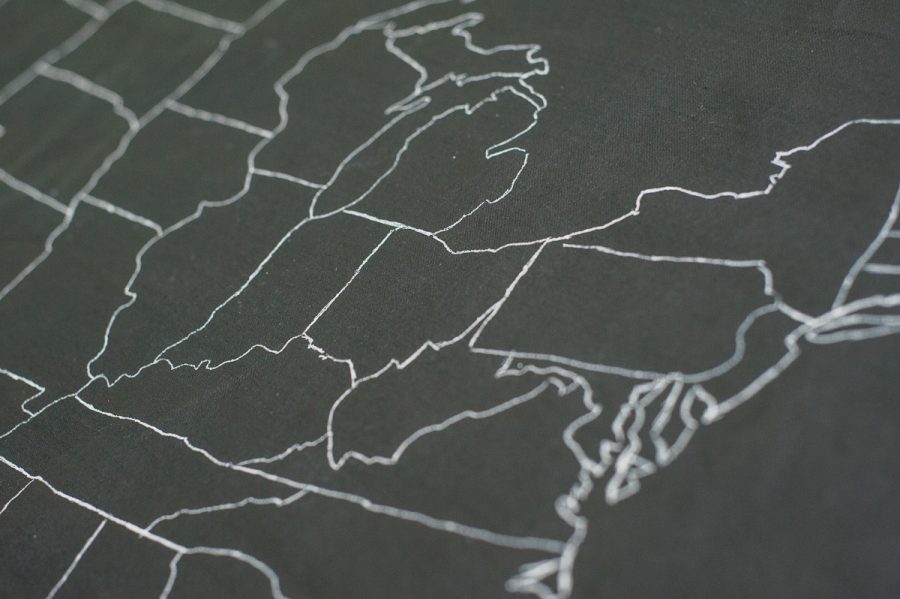
Next up, state outlines. I used my projector to trace the state outlines onto the fabric. I used Google maps to get my outlines.
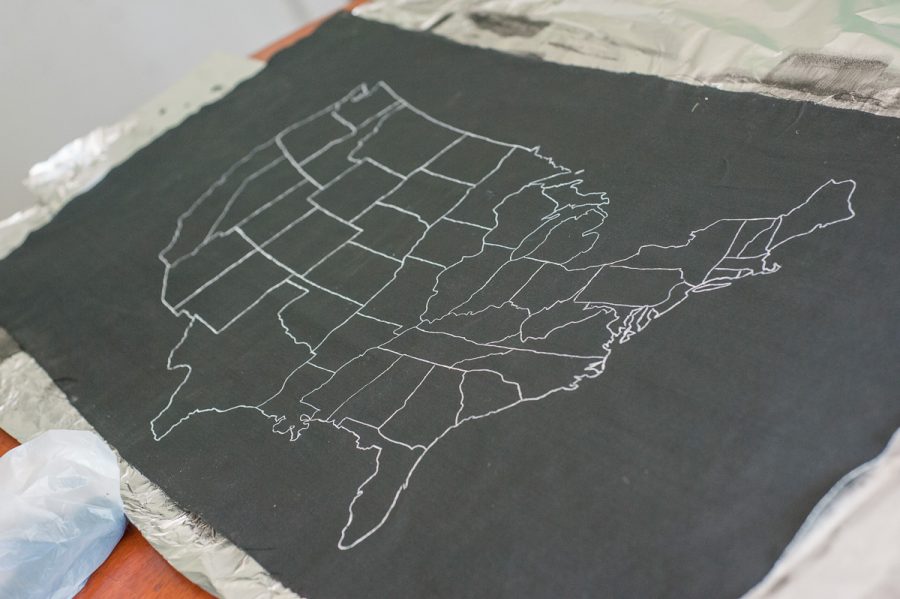
Finally, I added a little wood trim. I used a 1×2 piece of pine from Lowe’s, stained with Minwax’s Golden Pecan and I used a staple gun to attach the fabric to the wood. I finished up with a couple sawtooth hangers nailed into the top board so I can hang it on the wall.
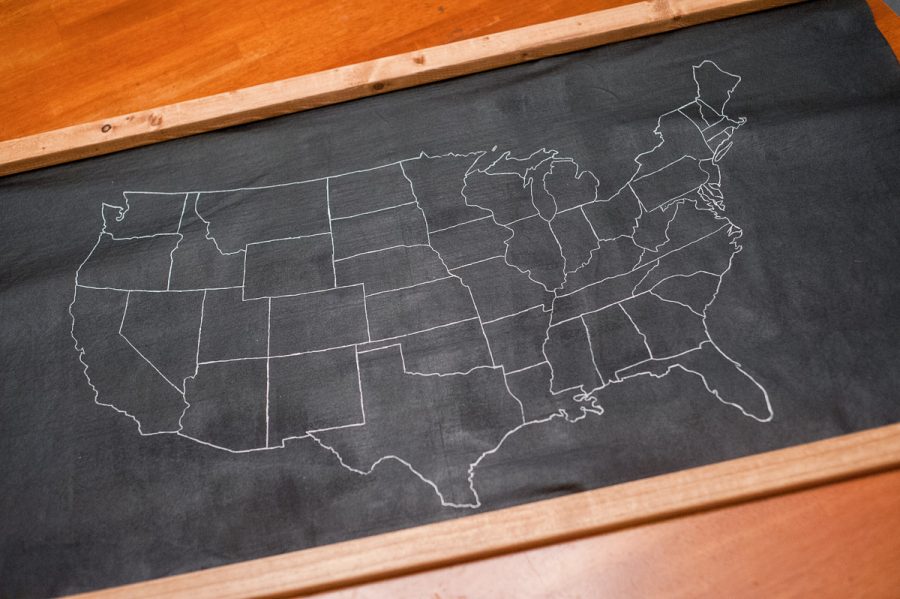
Voila!! Easy, budget friendly DIY wall map art for your wall!
XOXO
Donna
I love having you on the road with me!
