Project to do list
Remember a couple weeks ago when I was so motivated to put our kitchen adventure in the history books BEFORE Thanksgiving but we had some electrical delays? Well… we didn’t accomplish it all by the holiday but we certainly accomplished a LOT! It was an absolute flurry of activity leading up to the holiday. If you need a reminder, this was the to do list I had.
Still need to…
Level the floor (done)
Paint the walls (done)
Install the backsplash (done after the holiday)
Put in drawers and drawer fronts (done)
Add the hardware to drawers & doors
Remove a cabinet & replace with open shelves (half done)
Paint or replace the baseboards
Do something with the counter? (still debating)
and replace the range hood (done)
Of course, as you go along you find other things to add to your to do list. This list was hopeful… I added things that I knew I would not likely ever get done. Heck… I even added another room to the mix. No one can ever say I’m not an optimist.
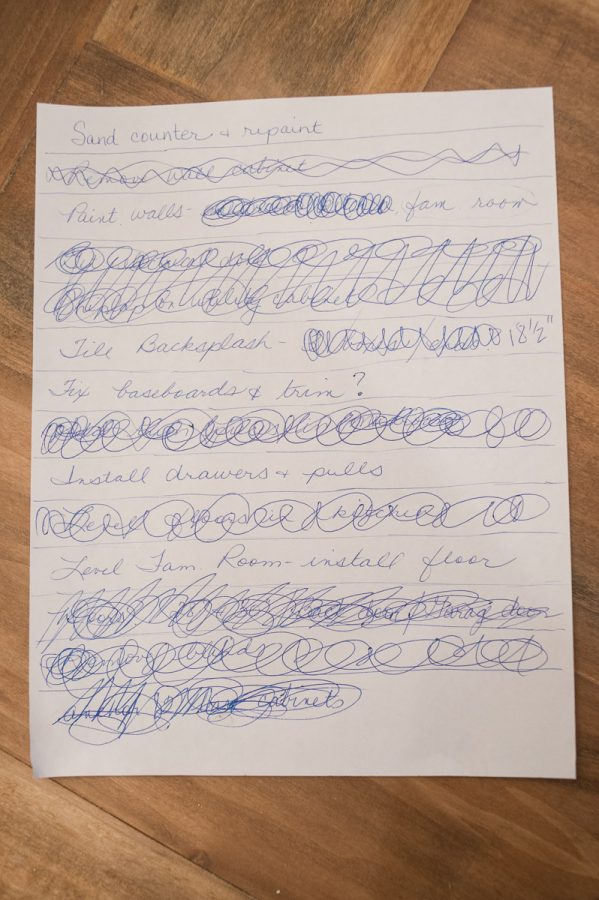
Can you tell by the severe scribbles that I was REALLY glad to get things done? I did opt to put off some of the bigger projects until after the holiday. We accomplished so much in the two weeks before the holiday. I’m very blessed to have awesome people in my life who didn’t mind being served Thanksgiving dinner in an unfinished kitchen.
Most importantly, I felt really good about waiting to do the backsplash. I didn’t want to rush it and feel pressured. Taking the time to do it right is definitely the right choice. I didn’t feel one ounce of guilt or regret at waiting. In fact, I’m sure it was the right choice.
So… I’ll update you on what I did. I’ll probably spread that out into a few posts… It’s a lot to share.
Level the floor…

If you’ll remember, this is what things were when I started this adventure. We removed the cabinets in this photo and moved the fridge. The gray flooring that we added wasn’t under the base cabinet and it was under the fridge… We had to level the playing field so the cabinets that sit here now wouldn’t wobble.
It was relatively simple. We (and by we, I mean my son, Austin) used a saw to cut the gray flooring to fit the cabinets’ footprint now. It was so strange to see the original yellow floor peeking at me. Yeah. We covered that up for a reason.
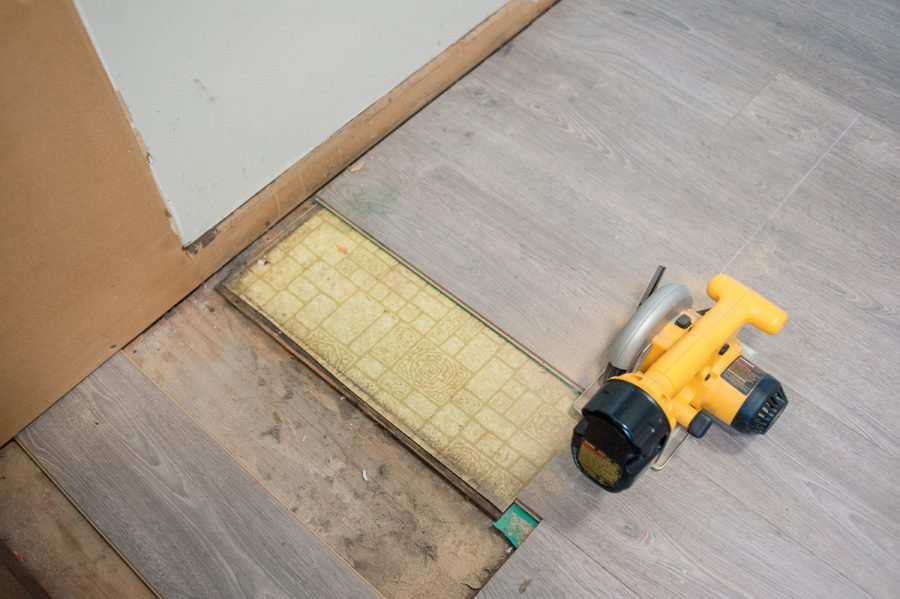
I had almost forgotten how far we’ve come. I forgot to take a photo of the cabinets after we leveled them but before I added the backsplash so you’ll have to wait for the full reveal to see how it looks now. Sorry about that.
Pantry cabinet…
While it’s not on my blog list, I added it to the handwritten list. I added tongue and groove planks to the pantry cabinet. All my other cabinets have this on the ends so it was important to carry it throughout the kitchen.
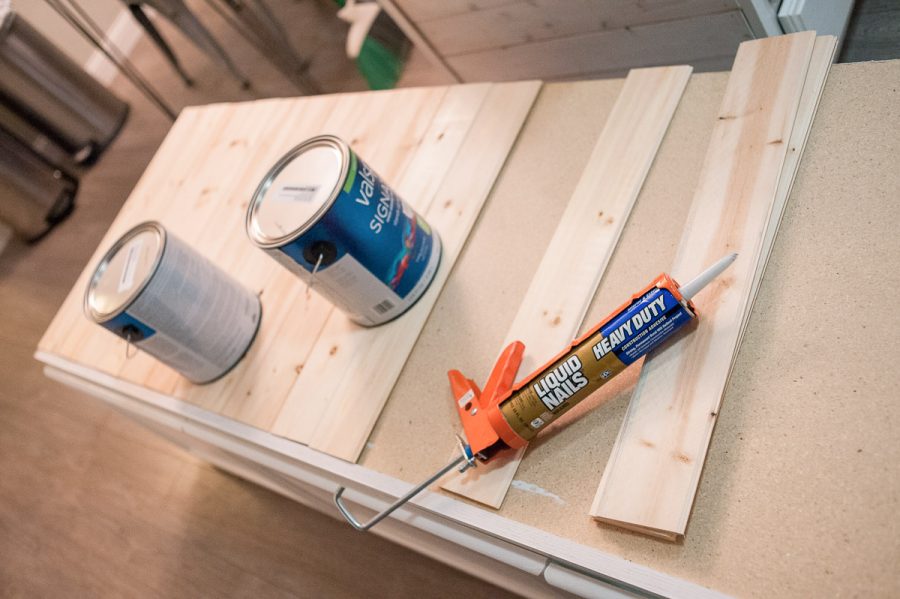
Since this cabinet is next to the refrigerator and doesn’t get a lot of wear & tear, I opted to just attach the boards with Liquid Nails. I added a coat of white wash.
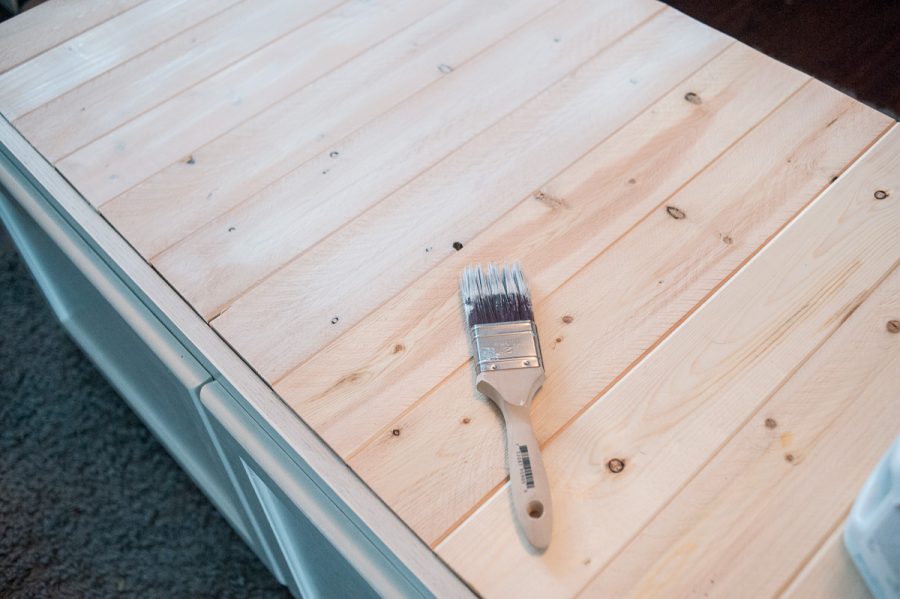
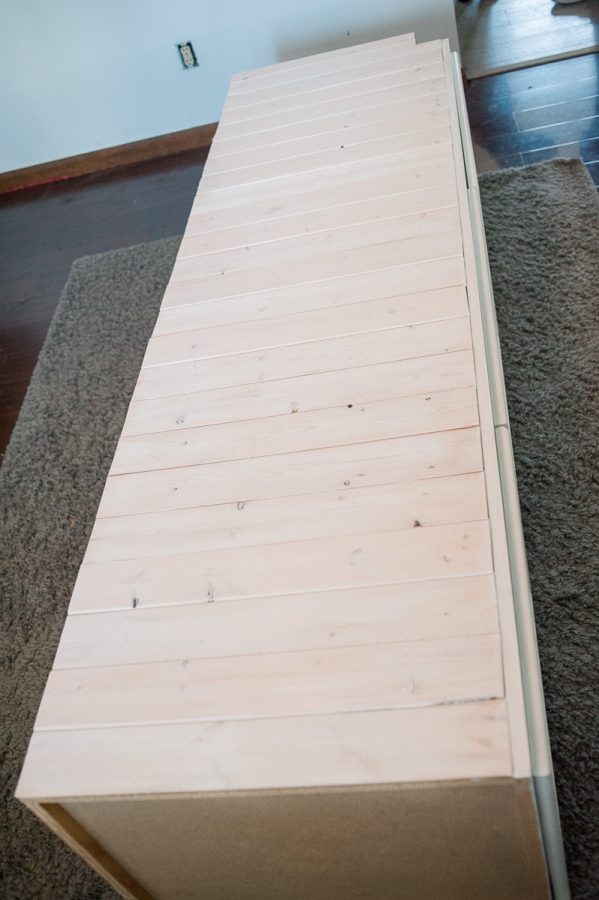
I just love the look that this provides and it’s one more piece in the kitchen that feels finished. It’s funny. On the blog those seem like quickie projects. In real life, they took a good chunk of time. I can’t wait to share more with you!
xoxo
Donna
PS… If you like what you’re reading, you can subscribe. Love having you on the road with me!
Susan Horton
You are amazing! You’re ability to do all of these projects is is so impressive. I’m sure they at extra room will be built one of these days. Nothing’s going to stop you!❤️
Donna
You are the sweetest! I hope nothing stops me!! I want to get this whole house in tip-top shape!