DIY Subway tile backsplash
I have spent a good month or more researching how to DIY subway tile for a back splash. I’ve watched countless videos and read countless tutorials. Of course, all of those make it seem quite simple. It’s totally doable but I’m not sure I’d say it’s “simple”.
Where to buy
I’ve found multiple sources for subway tile. I opted to buy mine at Floor and Decor. I thought it was the most reasonable price and the whitest white. They also offer a good selection of grout and mastic for the job.
Where to start
I spent a good chunk of a Saturday afternoon trying to figure out where to start. With a 3″ x 6″ subway tile, I needed a 1/8″ buffer between the tile and the counter. I took my tape measure and every few inches along the counter, I made a mark on the wall at 3 1/8″. The line between my points was (no surprise here) not straight.
I just couldn’t figure out where to start. I contemplated… Googled… Decided to hire someone… Stared at my pathetic little crooked line… I paced then googled some more. Next, I procrastinated until Sunday morning.
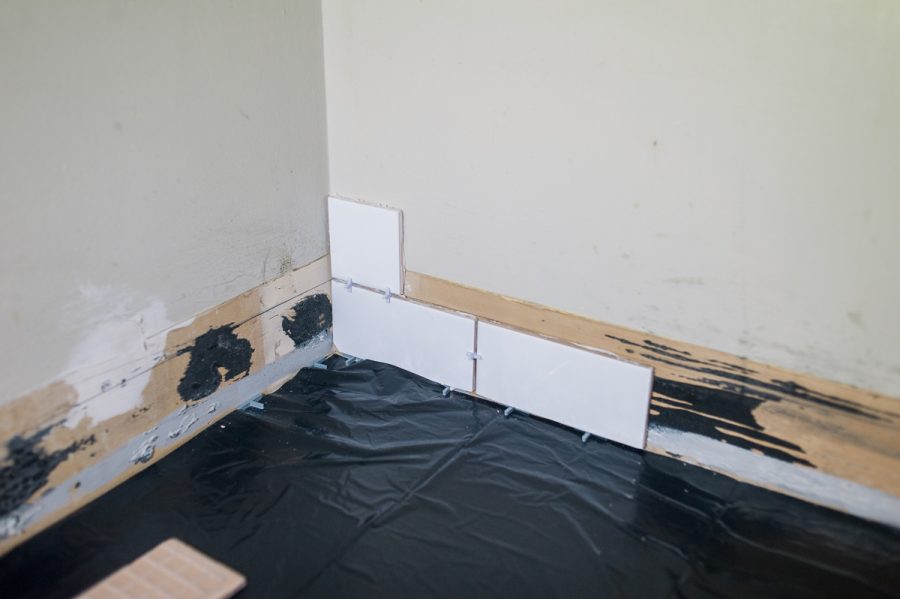
On Sunday morning, I brewed a strong pot of coffee and stared at my crooked line some more. Being the visual type that I am, I laid the tiles against the wall. I had read that you start at the lowest point. I took a deep breath and I jumped in, starting in the corner because I was most concerned about the tiles matching up there.

Like butter
For all the tiles on the lowest row, I “buttered” the back of the tiles. You know I’m all in on a project that relates to butter.
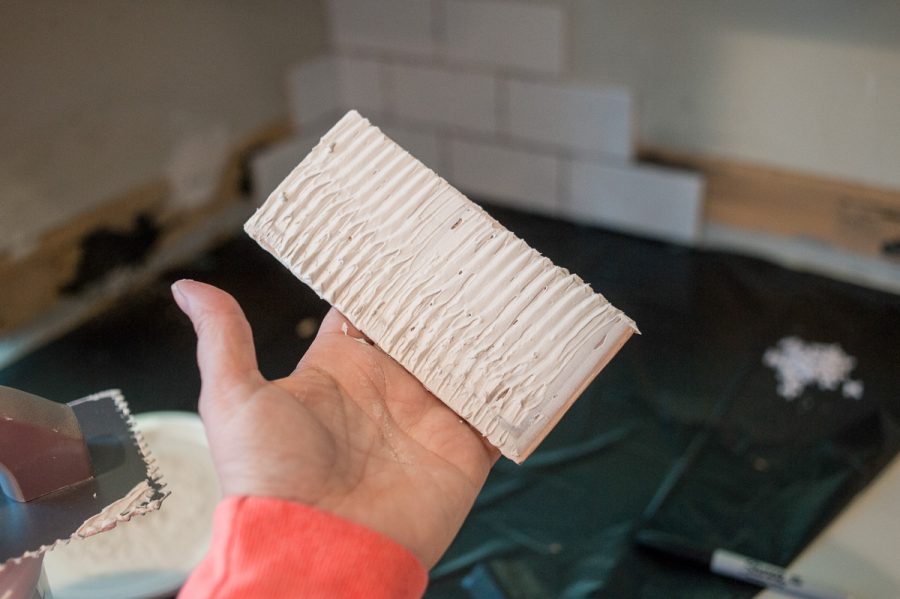
After several hours, I had one wall done.
Progress
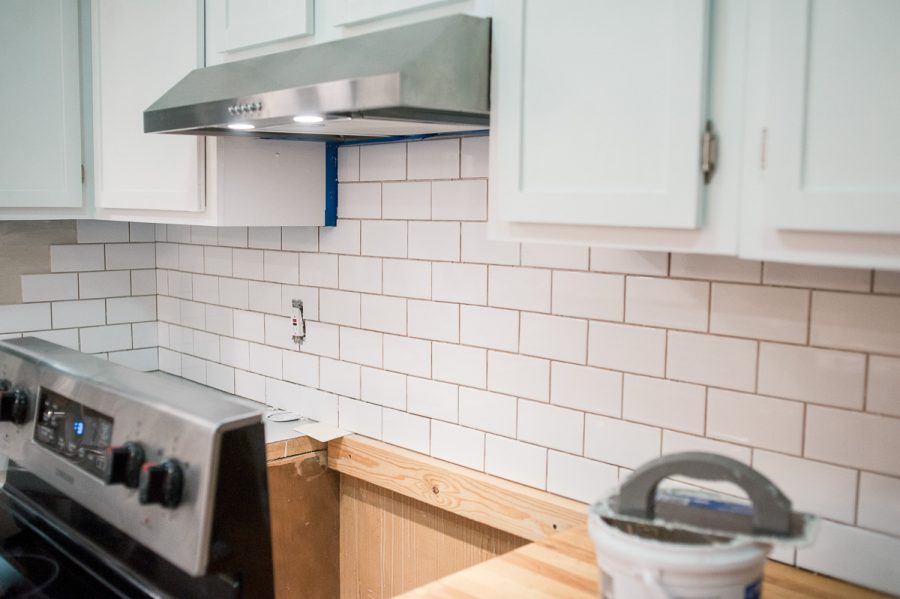
I have to say, it isn’t a difficult job but it isn’t simple either. I’m sure if I was more experienced, it would have gone faster. I took my time and tried to be perfect and level.
Challenges
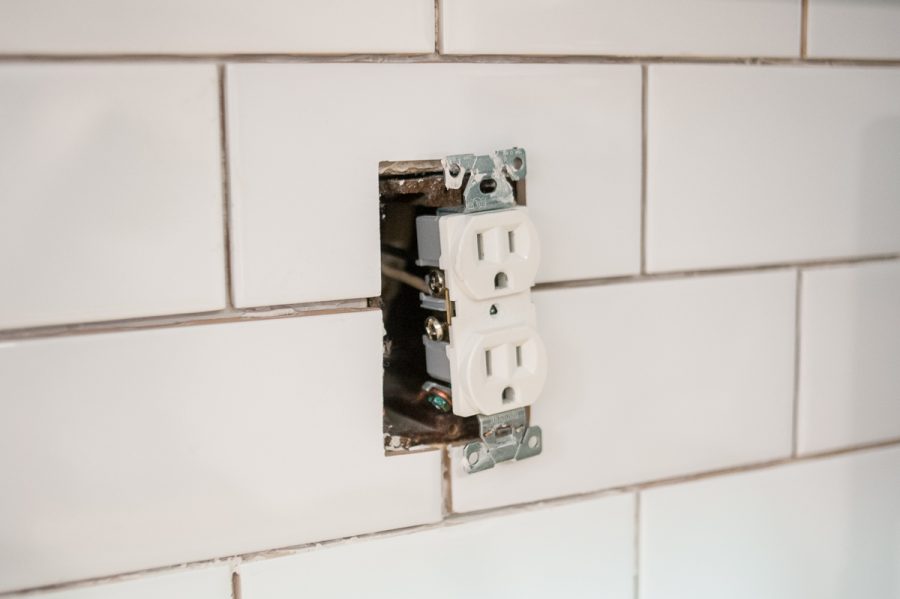
Cutting around the outlets was one challenge. The window sill was my other challenge.

The simplest choice was to cut a spot for the tile in the sill instead of trying to cut curved lines around the sill.
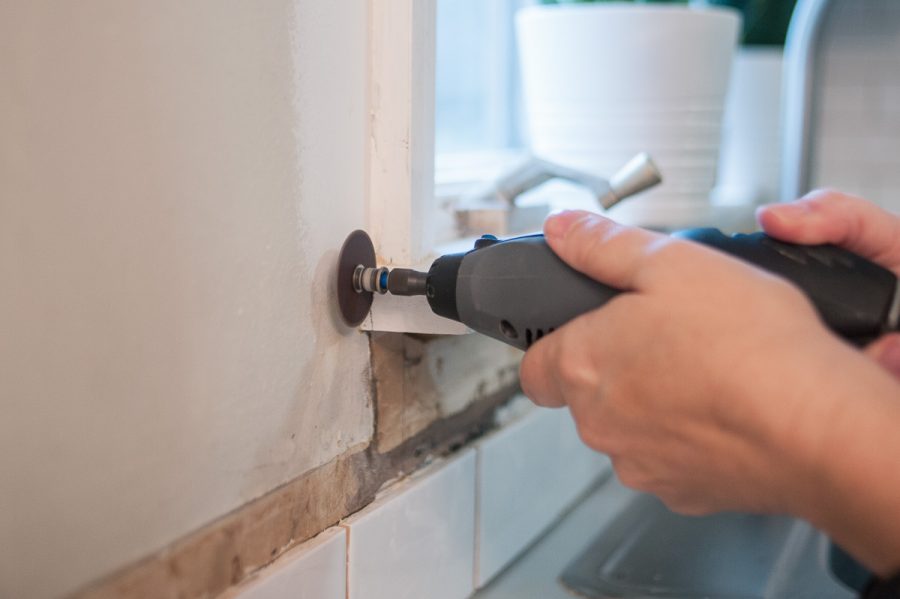

Man… Things sure aren’t pretty during the process. It all looks a mess. After the mastic dries, it’s time to grout the tile.
Grout
I made sure to mask off my freshly painted walls and put trash bags on the counter to help contain the mess. I heard grout was awful. Honestly, other than my fear that I didn’t have the right consistency, I thought it was fun. For the record, the right consistency is like cake icing.
You use the tile float to ‘smush’ the grout into the spaces. Then, I took my fingernail and went along the spaces to have lovely even grout lines. For the record (and I hope this goes without saying) that hairy arm doesn’t belong to me. My son, Austin helped me.

The grout process was quick. Within an hour or so, we could see what we had done. Honestly, the biggest hurdle in this whole process (as usual) was my own fear. I was so afraid of doing it wrong or doing it less than perfectly that I nearly didn’t try to do it at all.
You can do it
It was a wonderful moment when I sought out validation from a very handy friend of ours. I was able to tell him I had done it myself. The only moment greater than that was when I sent him a photo and he replied that I had done well. If you’re wondering if you can DIY a subway tile back splash, wonder no more.
The only thing getting in your own way is you.
xoxo
Donna
PS… If you like what you’re reading, you can subscribe. Love having you on the road with me!
